My second week in 3D printing has had more failures than the first week, but I’ve learned a few things that should help me avoid future failures. (Hopefully.)
I’m still avoiding anything with supports, but some of the things I’ve managed to print without supports still amaze me. I’ll take a look at a model and think, “Nope, that’s not going to work because this bit is out in space”, then I decide to attempt the print anyway and it comes out fine. There’s definitely an art to designing things that don’t require supports, but small overhangs tend to work out pretty well.
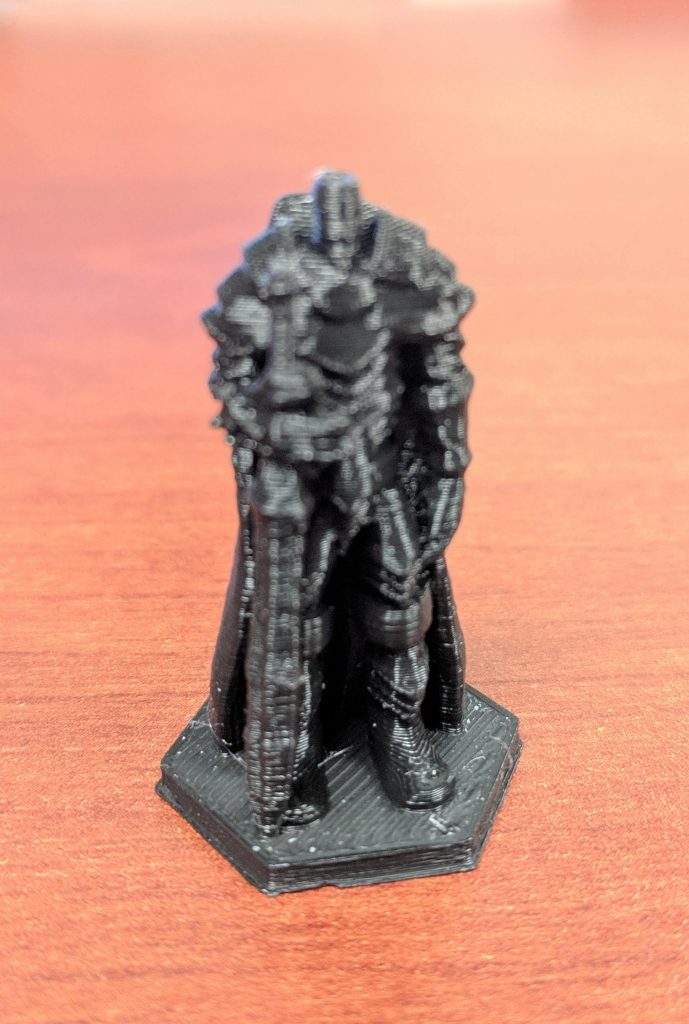
Berserker
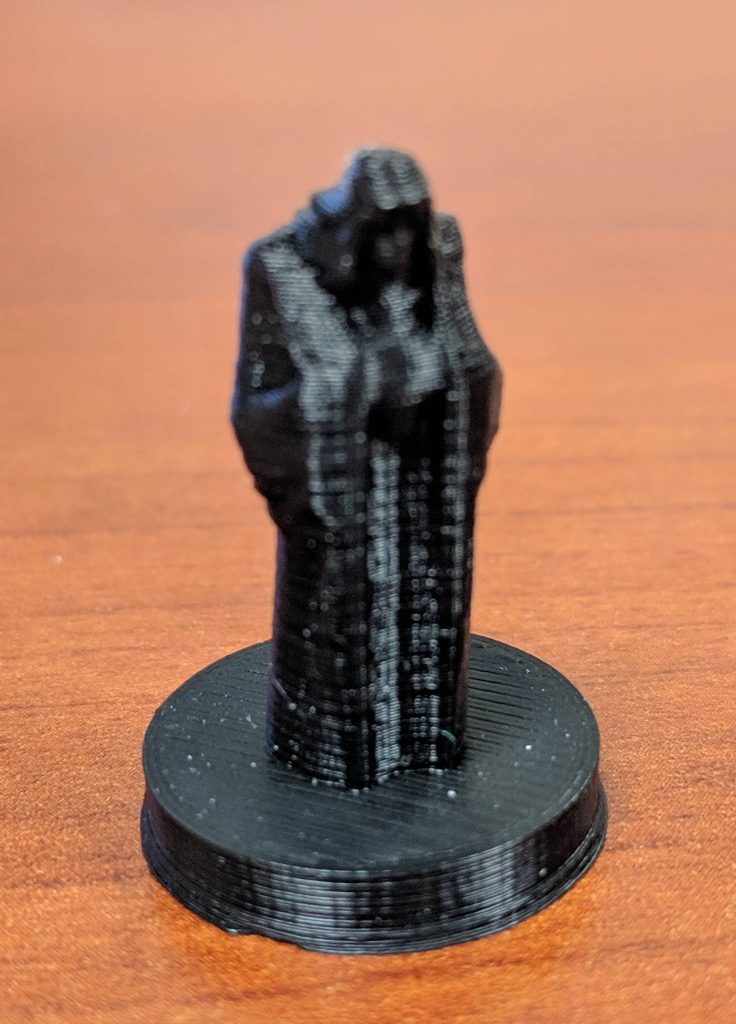
“Evil Wizard”
However, even though some things work out great, some things just don’t, even if they look OK. I tried printing a dwarven warrior, but every time it failed with a big, tangled ball of filament. I’m still not sure why it failed where others worked fine.
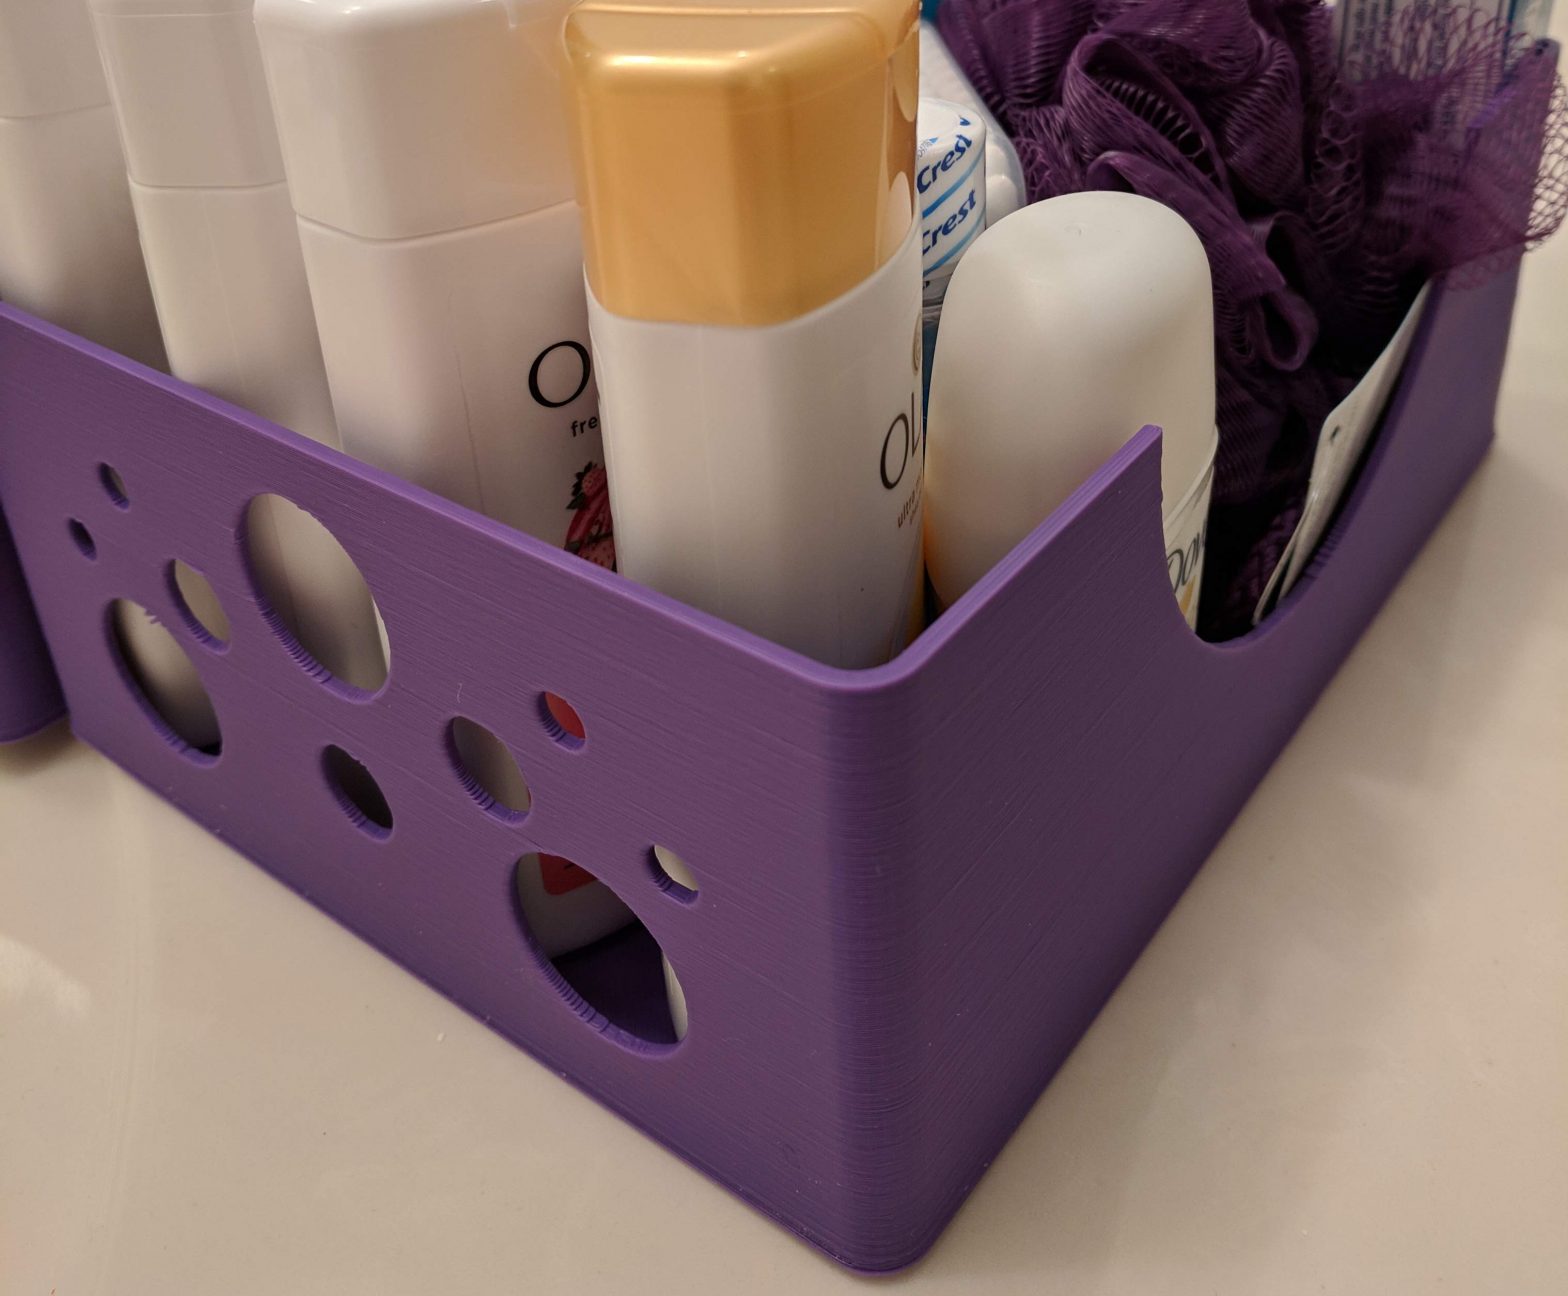
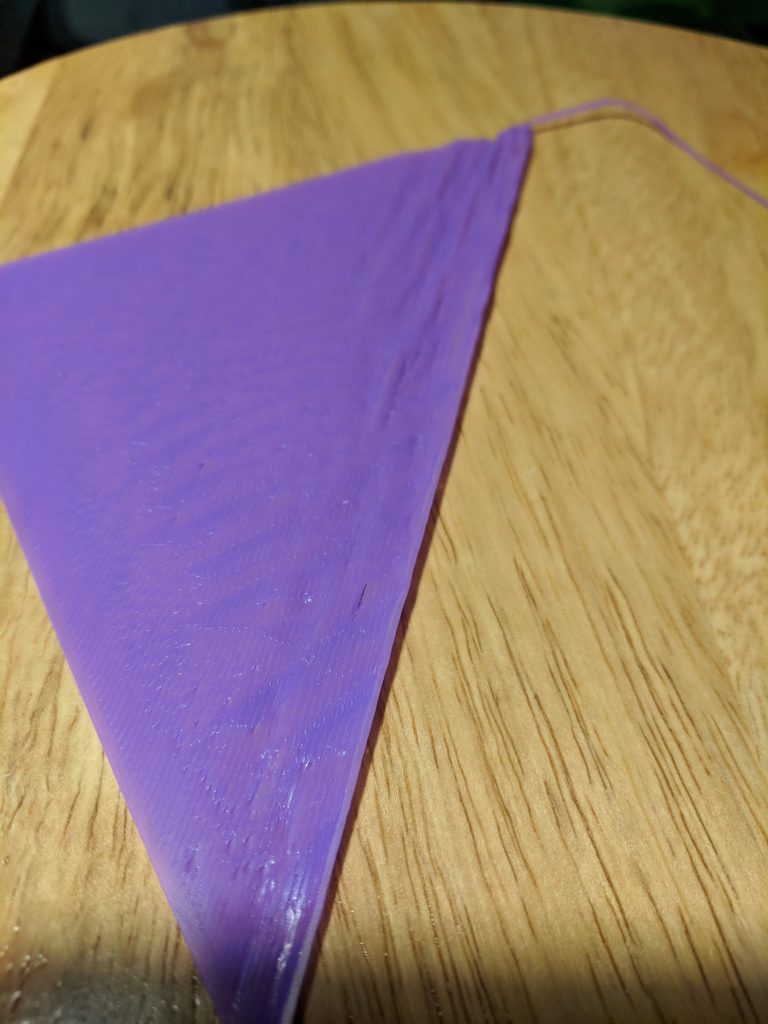
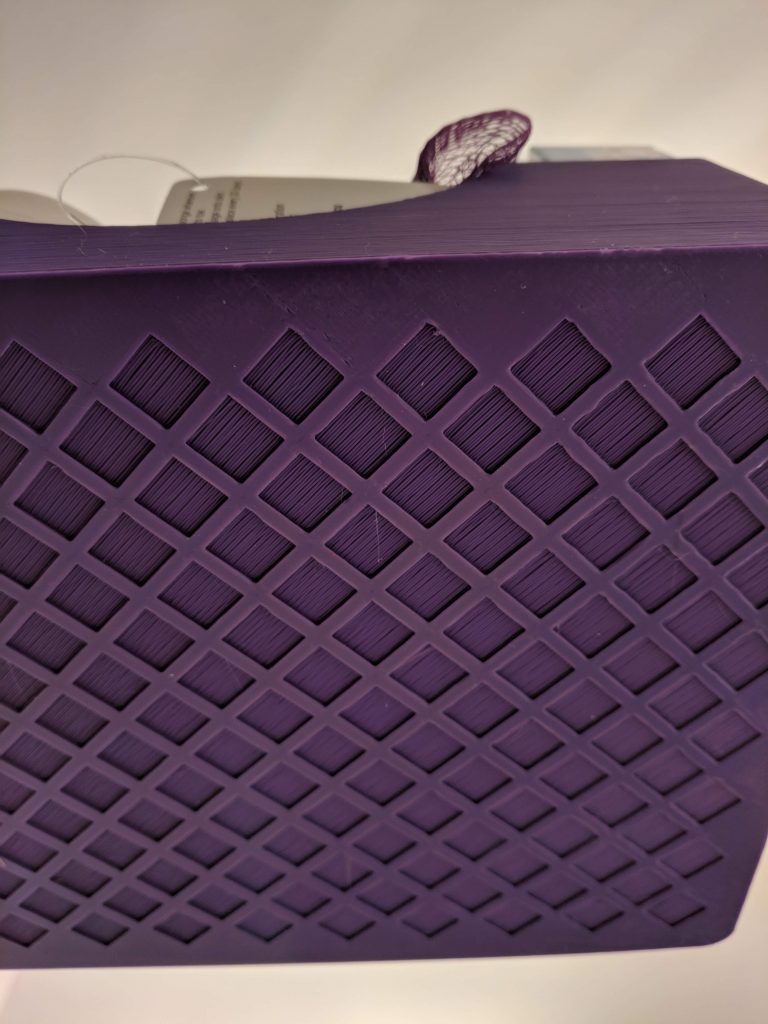
One thing I promised my wife when I got the printer was that I’d print a few baskets for our guest bathroom. My initial designs were pretty simple – flat bottom, a few circles in the sides (like bubbles), and a half-circle scooped out of the side. The first print was going pretty well as it printed the bottom, but about a quarter of the way across, it started to kink up. I tried lowering the bed temperature to let it cool faster, but I ran into the same problem (though a bit later). In theory, I could have lowered the bed temperature to a point where it would have printed fine, but then bed adhesion could have become a problem.
Basket Failure #1
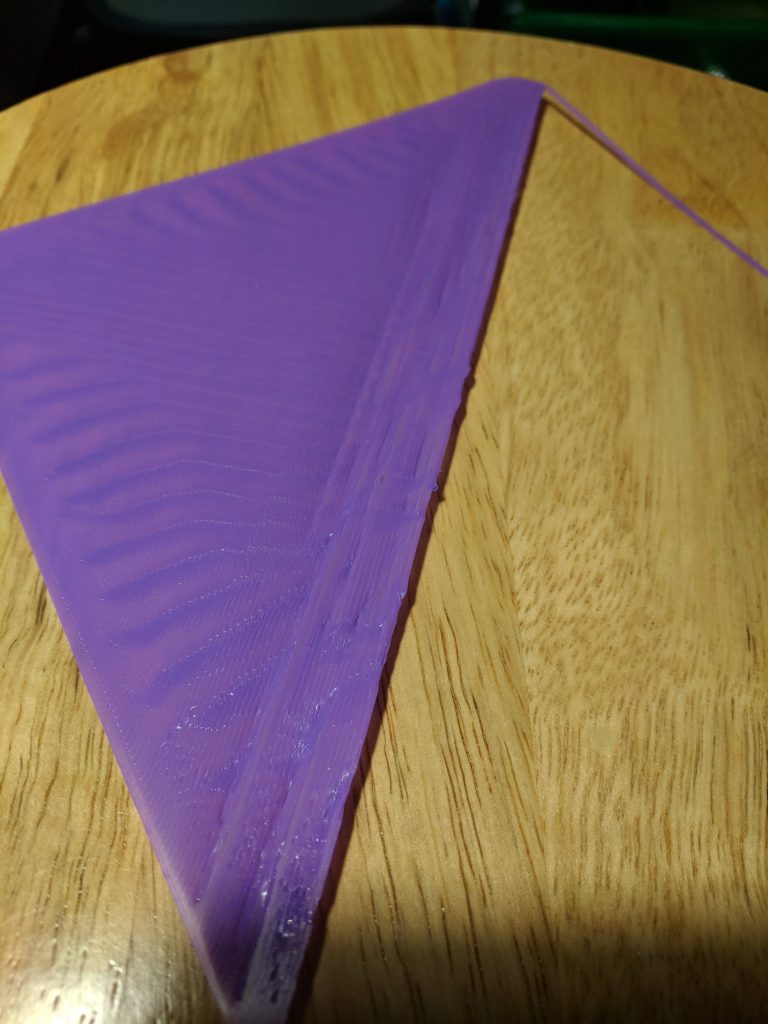
Basket Failure #2
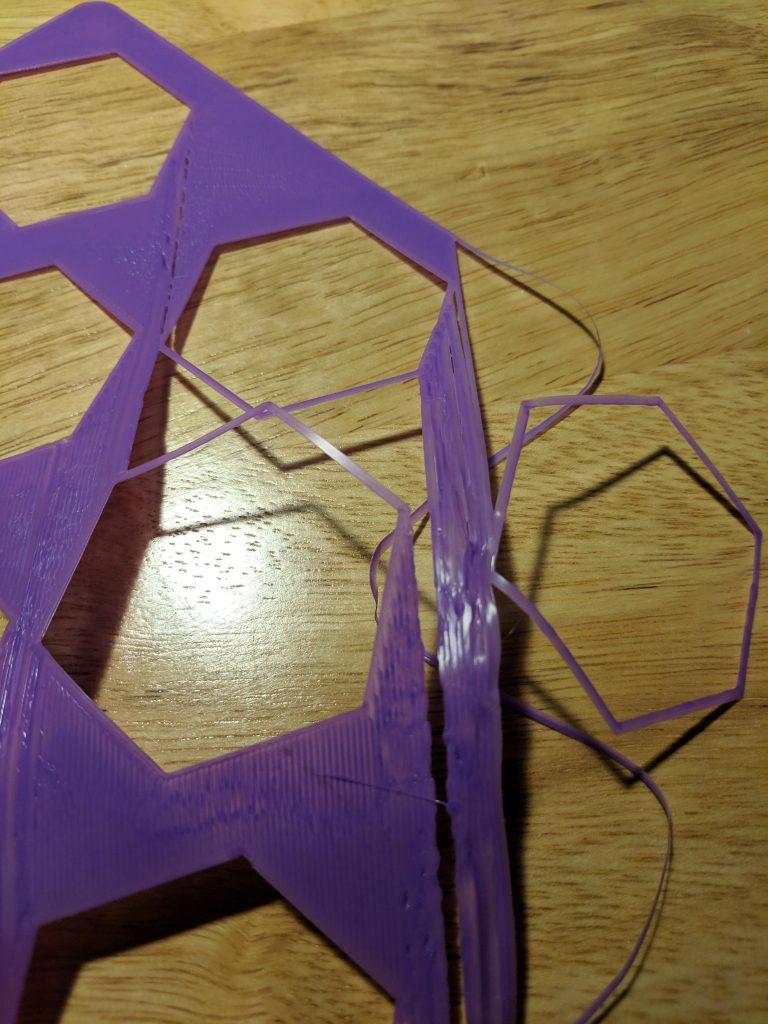
Instead, I tried adding some large hexagons in the bottom to create some air pockets and reduce the amount of large, flat areas to be covered directly on the bed. Unfortunately, I ran into the same problem with some of the flat areas between the hexagons.
Basket Failure #3
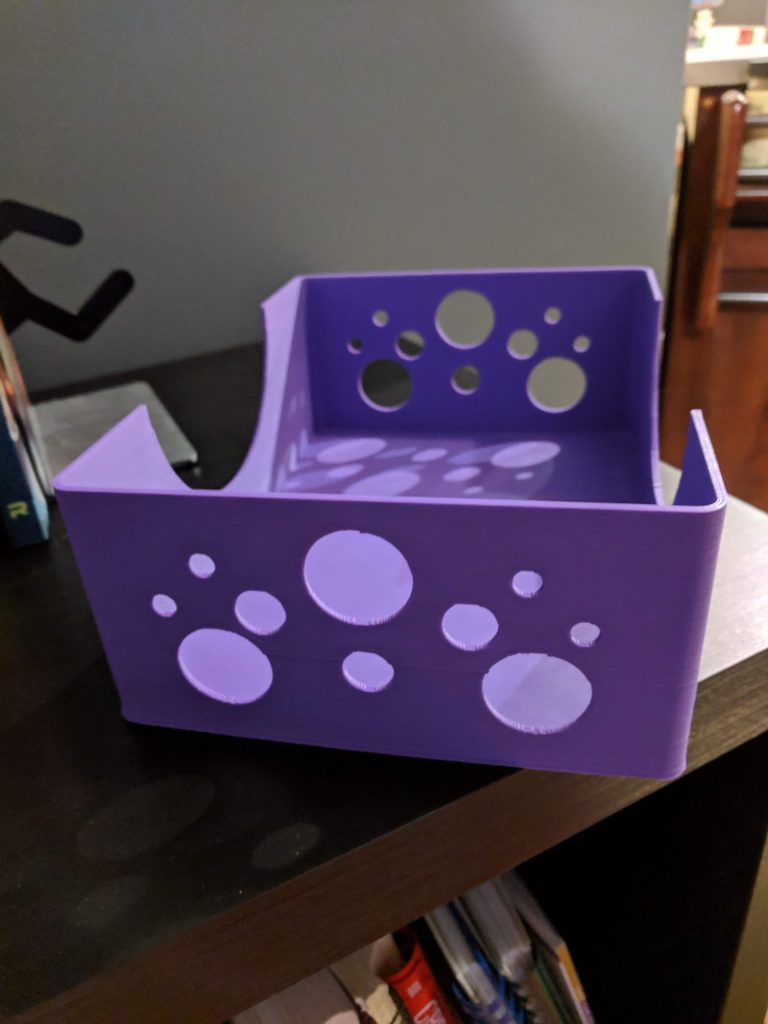
I went back and created a cross-hatch pattern on the bottom with small squares. About seven hours later, I had a completed basket; the new bottom printed without any issues. Lesson learned: large, flat areas directly on the bed tend to be problematic.
Finished Basket
Basket Bottom
My theory here is that as the filament crystallizes, it shrinks just a bit. Over short areas it’s not an issue, but with larger areas it causes a chain reaction. When bridging over gaps, it’s not an issue because the filament gets anchored on either side to filament that’s already hardened and won’t move much.
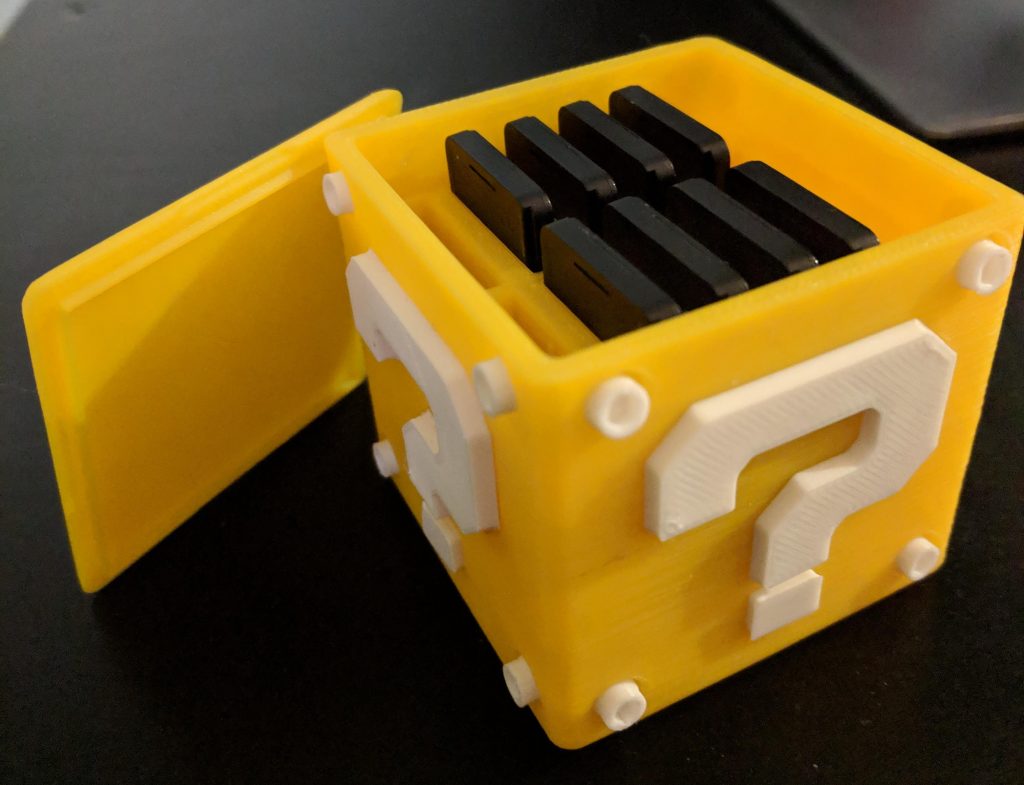
While those baskets were my largest project thus far, I also completed a project that required assembly: a storage case for my Nintendo Switch games. It turned out great. The body of the cube took maybe 5 hours to print, but the other parts were finished pretty quickly.
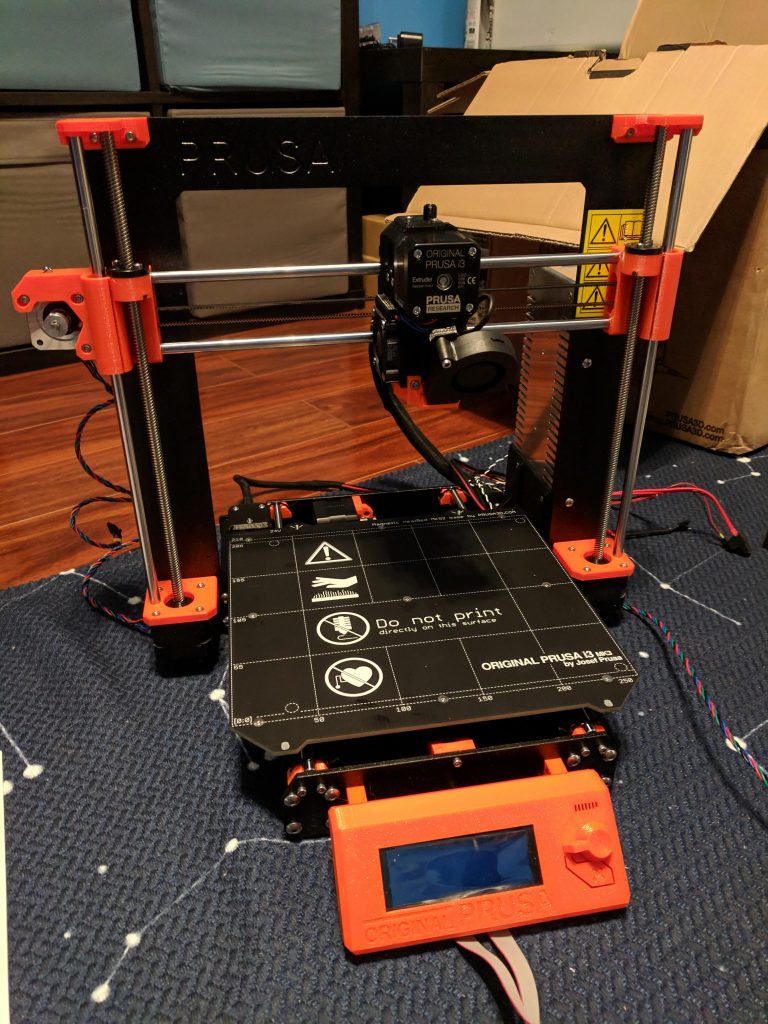
A few weeks ago I bought a Prusa i3 MK3 and it arrived about a week ago. I wanted to document some of the construction and printing process, along with some of what I’ve learned along the way.
Construction
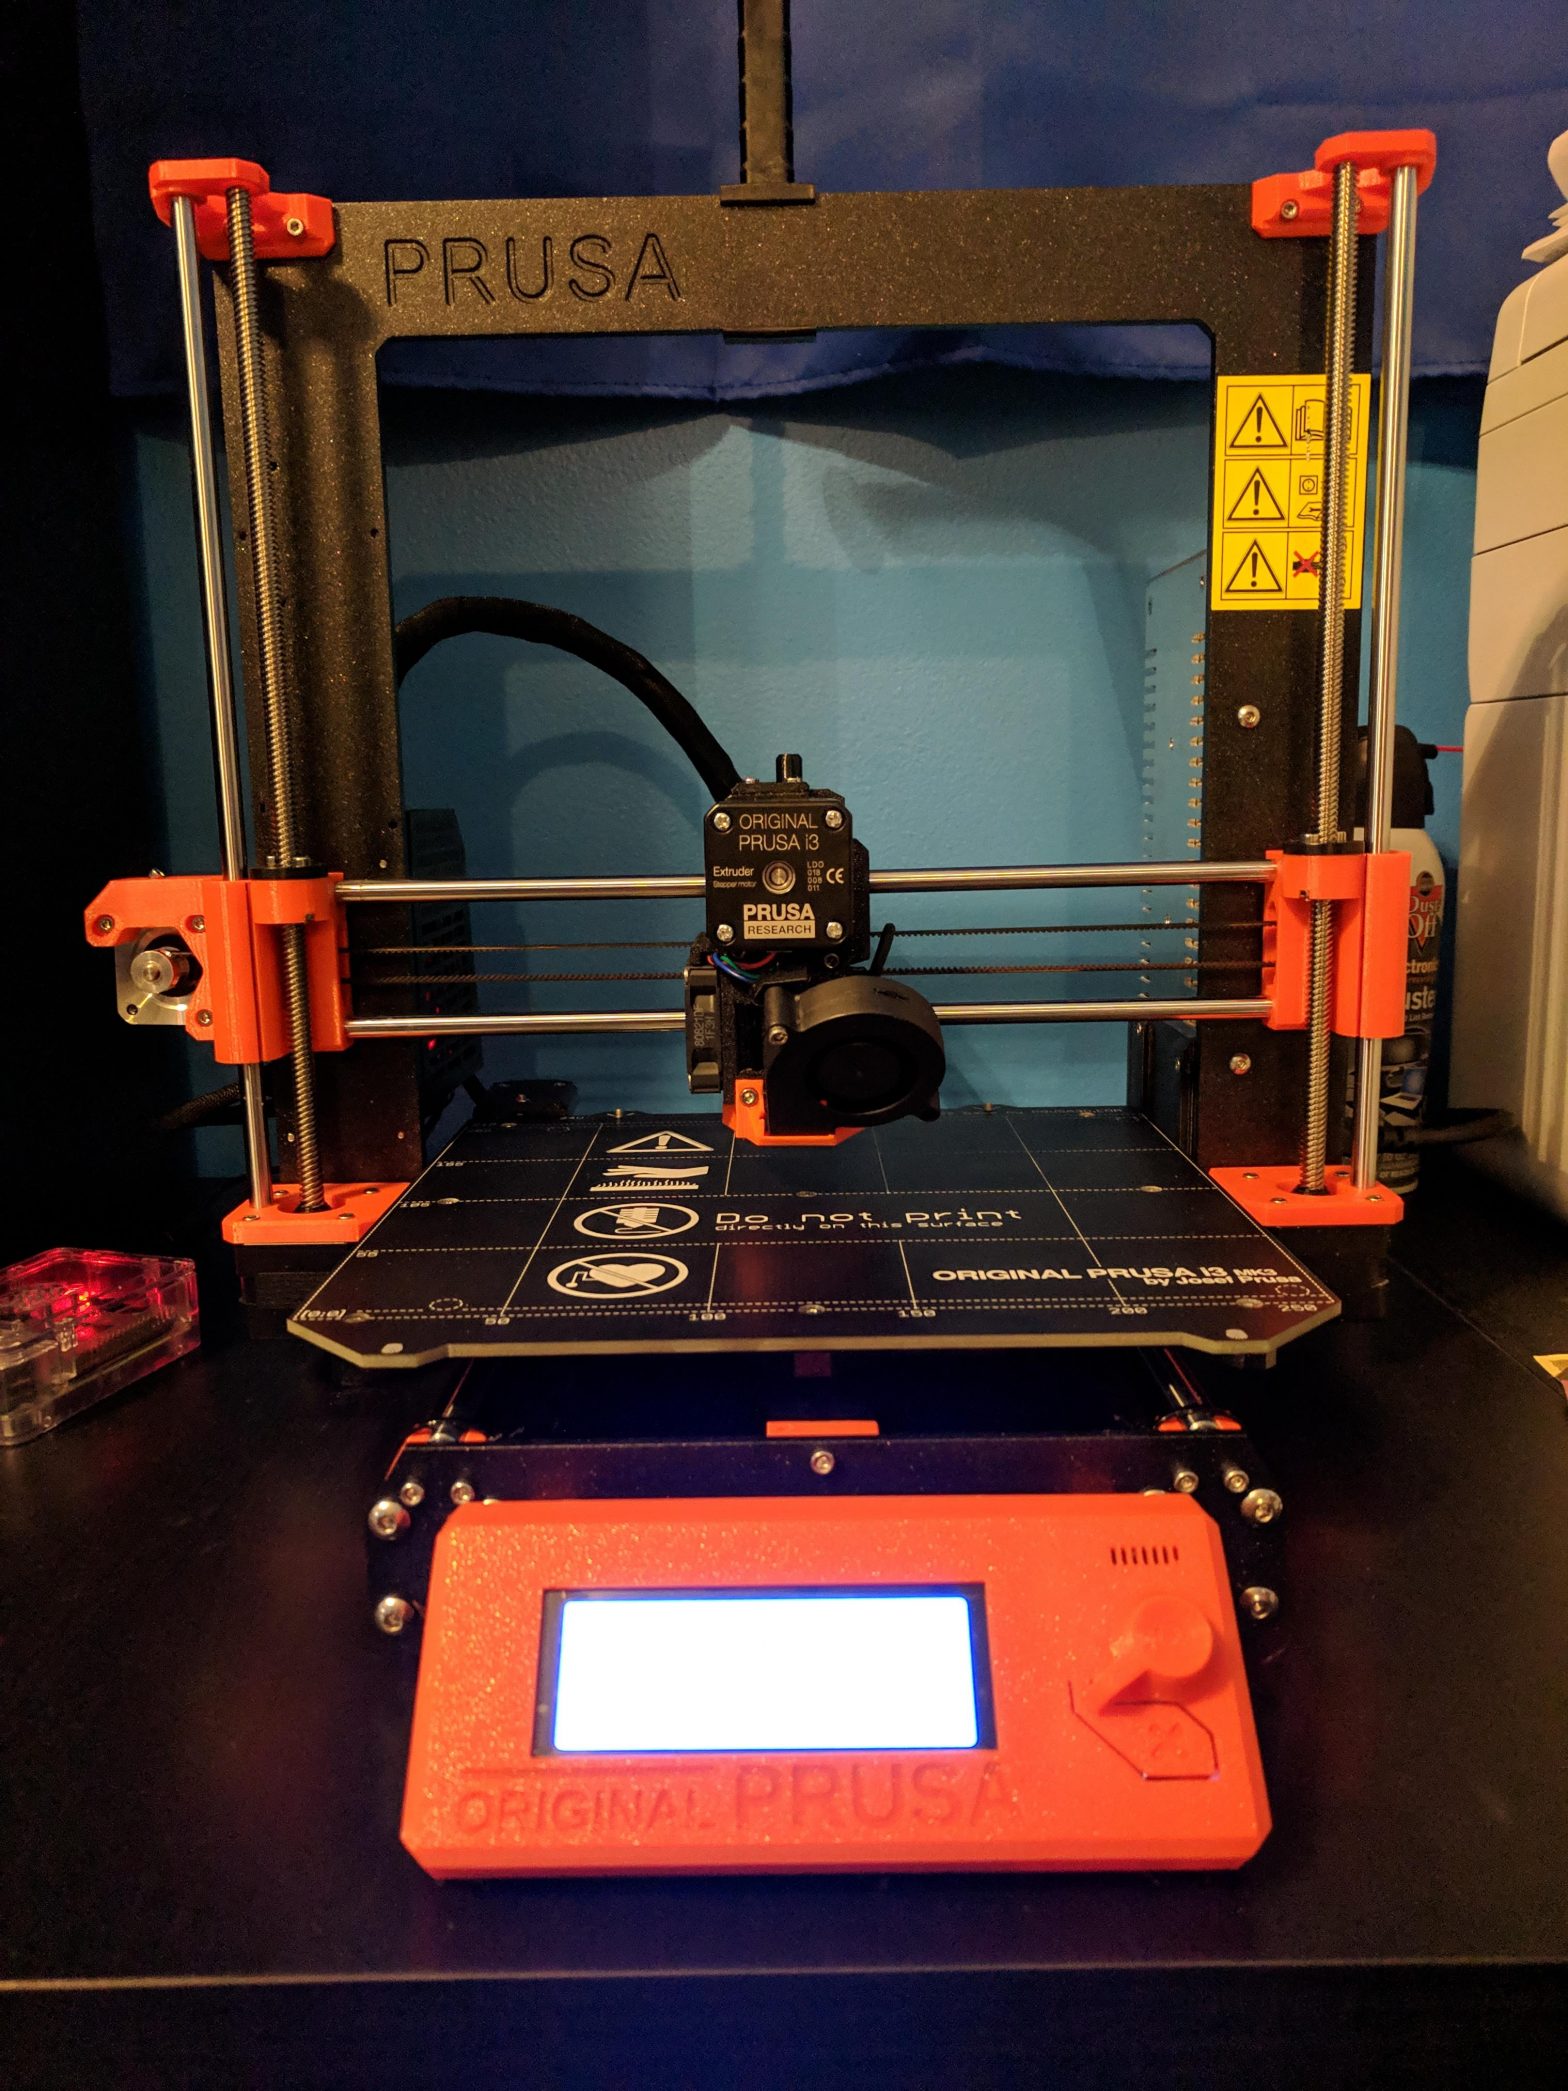
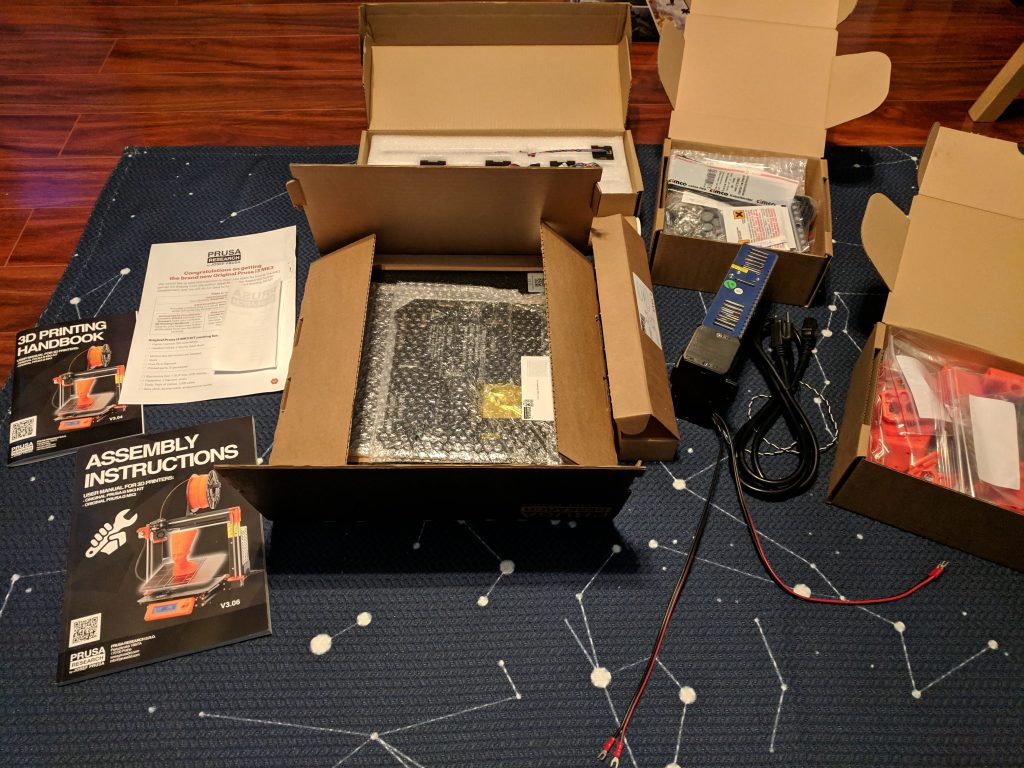
Building the Prusa i3 took a long time – probably about 10-12 hours total. The process was made worse because I didn’t have a decent workspace to build it, so I was sitting on the hardwood floor. If you’re building one of these (or probably any 3D printer), I’d advise having a nice big table to work on.
All the parts
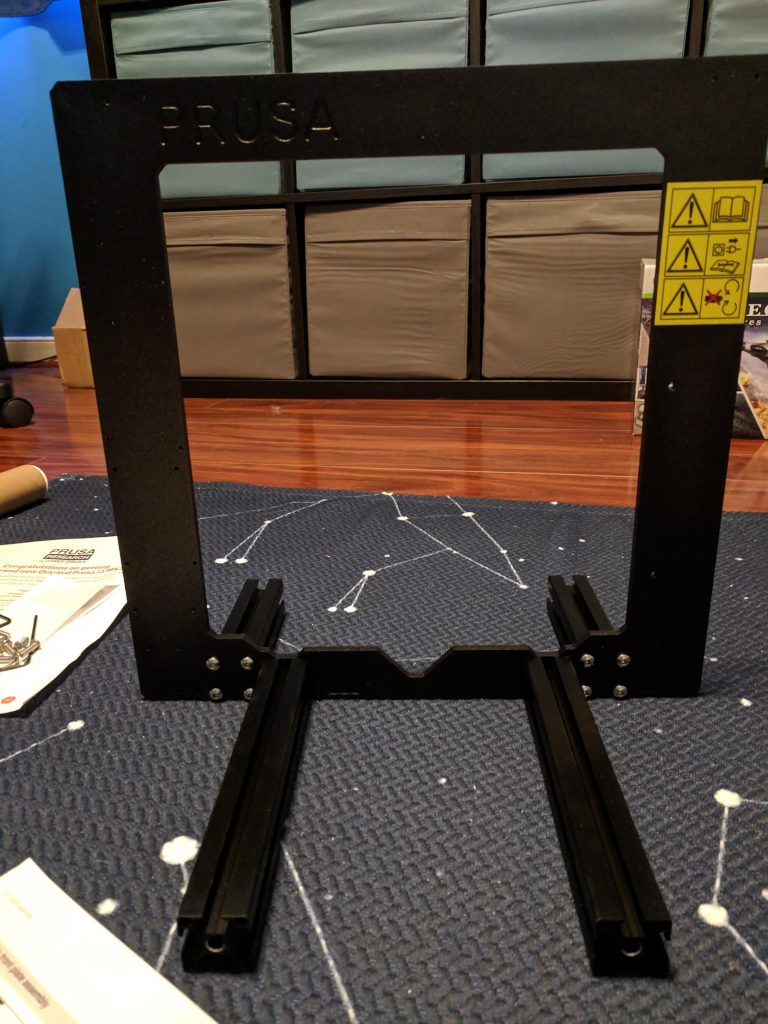
Frame complete
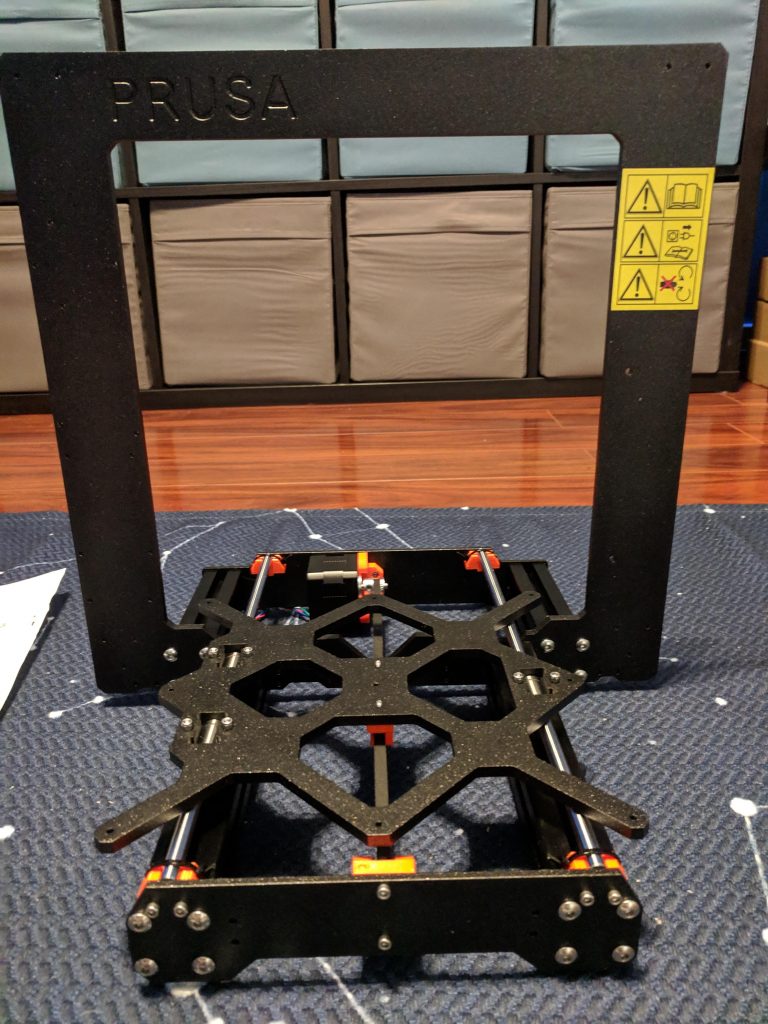
Y-Axis complete
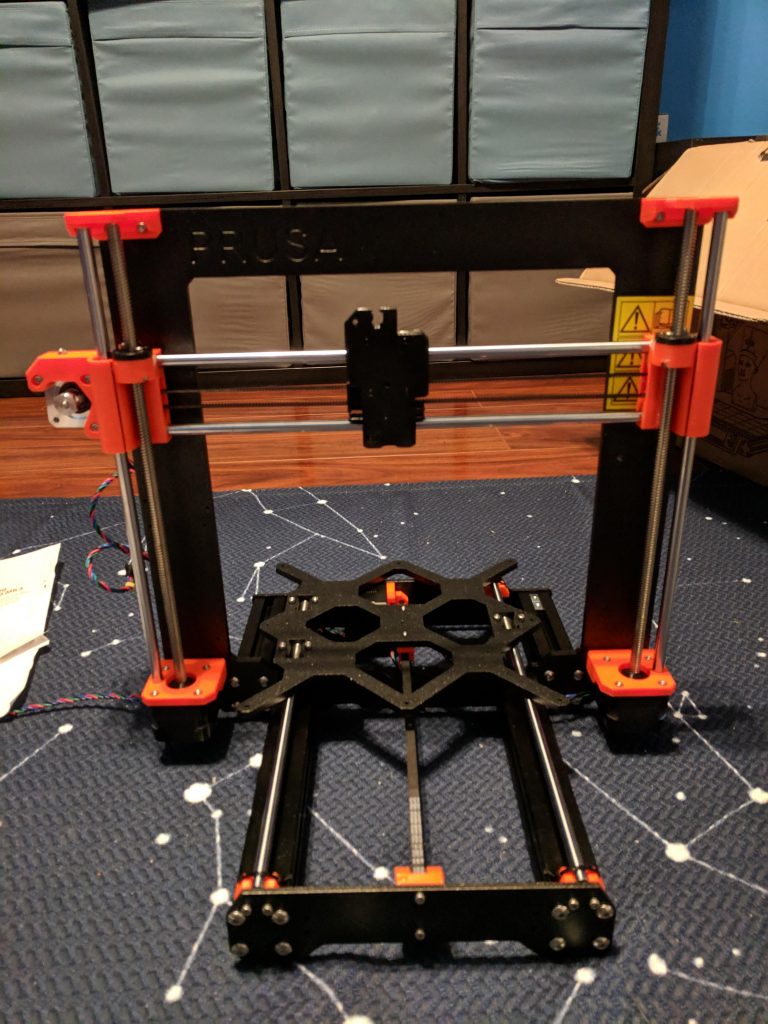
X and Z axes complete
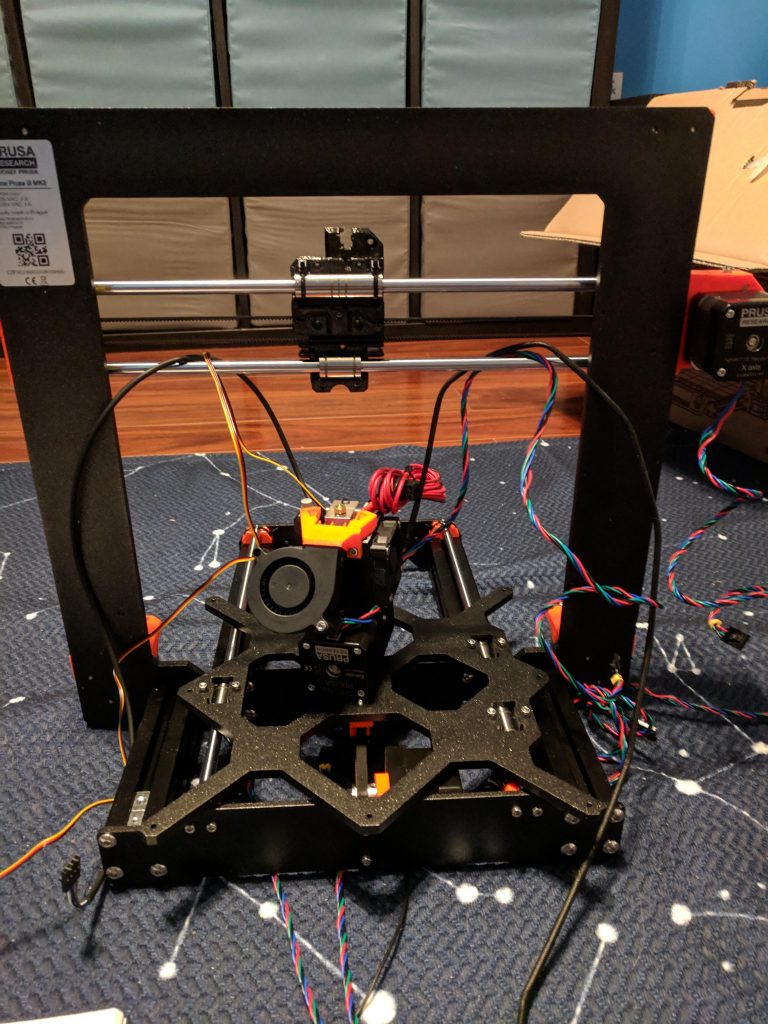
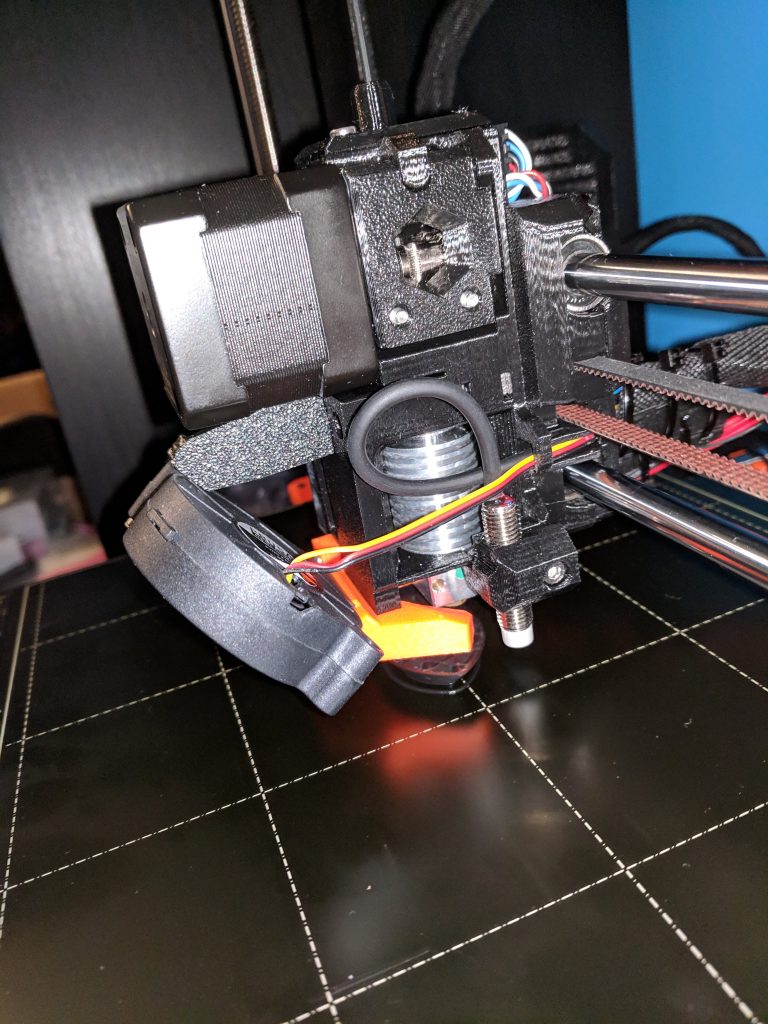
Extruder ready
Bed complete
The instructions from Prusa are very clear, with lots of pictures and color-coded symbols pointing things out. I was pretty careful as I built everything and had my wife double-check my work, but it’s honestly not that difficult to build (just time consuming). There were only a few steps that were a little confusing, but checking the manual online – with bigger pictures and user comments – helped immensely.
Even with how tough building the printer can be, I recommend getting the kit and building it yourself. Not only do you save $150, but you also get a feel for exactly how the printer works and some of the things you can do with 3D printing. At least a third of the Prusa is 3D printed: the supports, LCD housing, mainboard case, and most of the extruder (where things get very hot) are all 3D printed. Building the printer myself helped me appreciate the precision and capabilities of the printer long before I actually started using it.
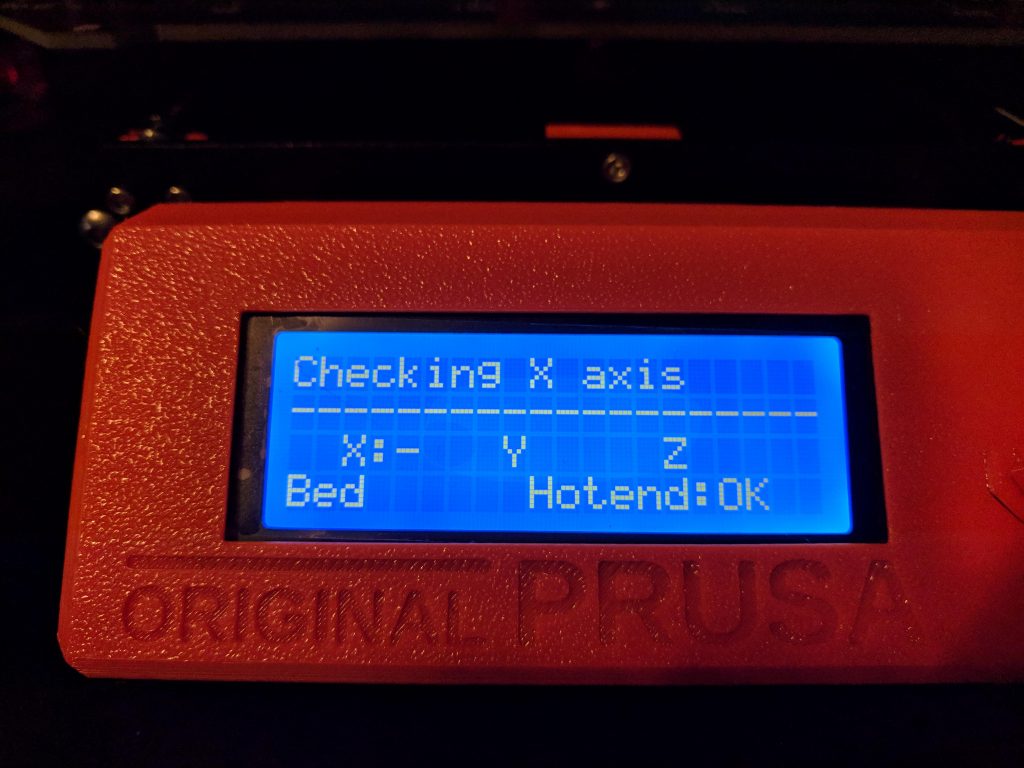
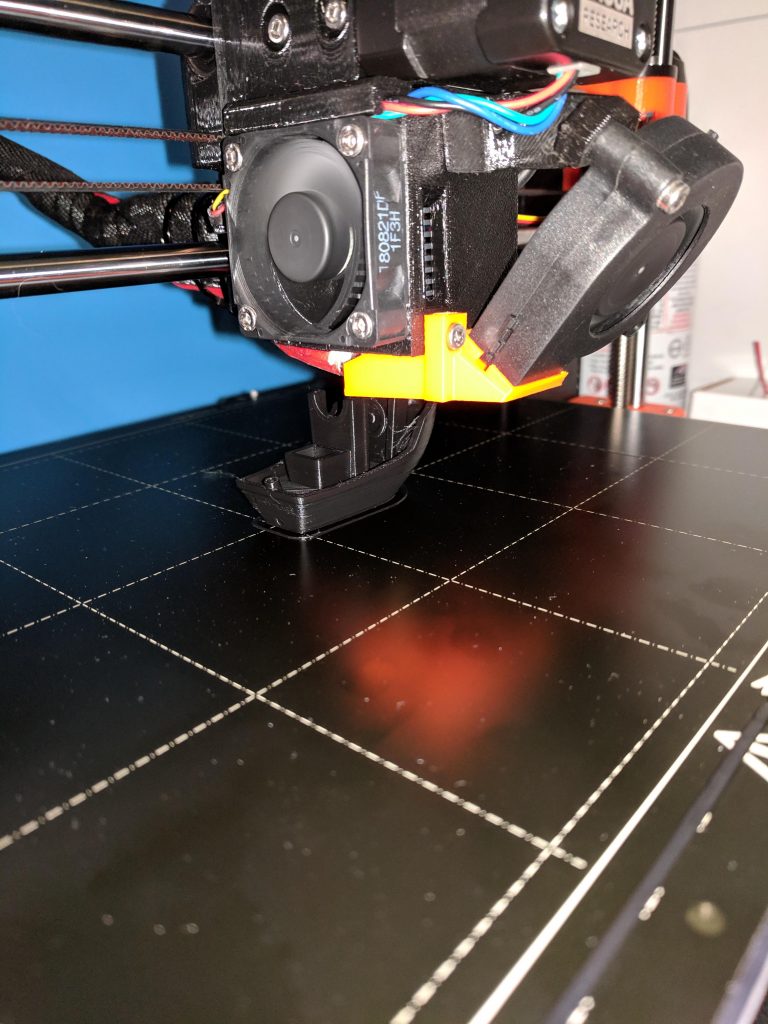
Startup and Self-Test
The initial startup was a bit stressful, but luckily I got everything right enough. The self-test takes about 10-15 minutes and the printer guides you through the process. The printer is very friendly, greeting you with a “Hello!” (on-screen) and letting you take your time through the process.
The hardest part of the initial process was the z-axis tuning. Every printer is slightly different and you have to tune your z-axis to get it to lay the filament out nicely on the bed. It’s an extremely slow process and probably took me an hour or more. The printer prints a line back and forth and ends with a little flat rectangle. You can peel it off the bed and look at it to make sure the tuning is right. I went through several iterations before I got it about right. Before doing so, I got it a bit too low, and there are still some marks on my bed where the nozzle maybe hit the surface. (I think I need to get the bed extra hot and try removing the marks.)
Once the self-test and tuning are complete, it’s time to get printing.
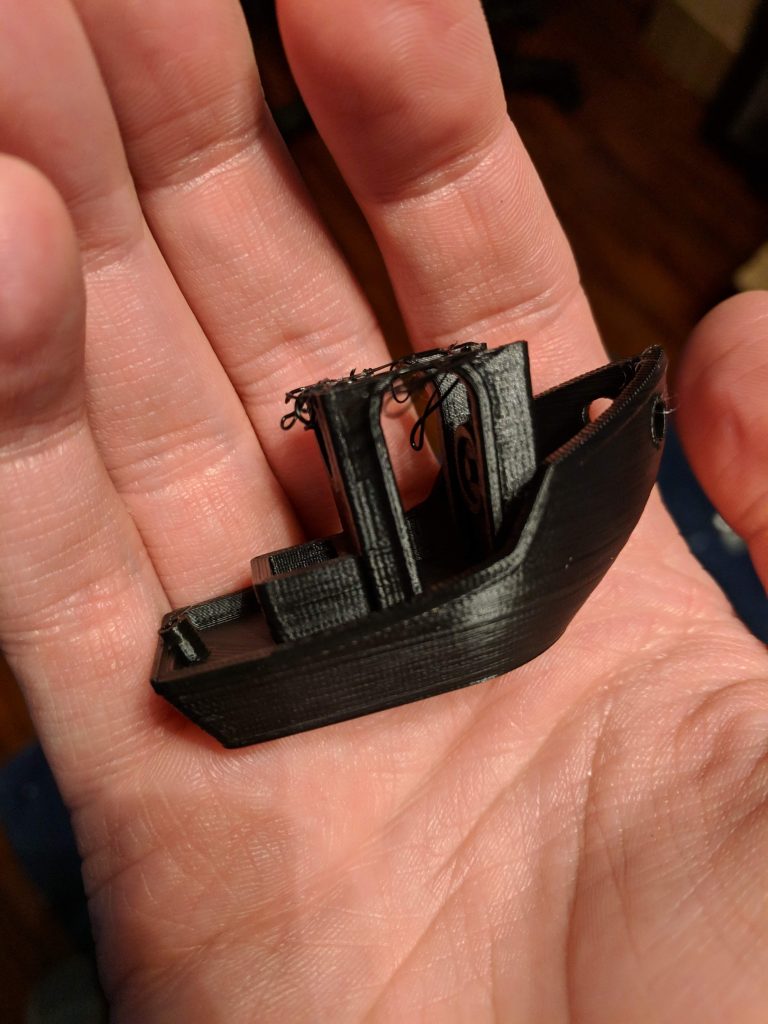
Initial Prints
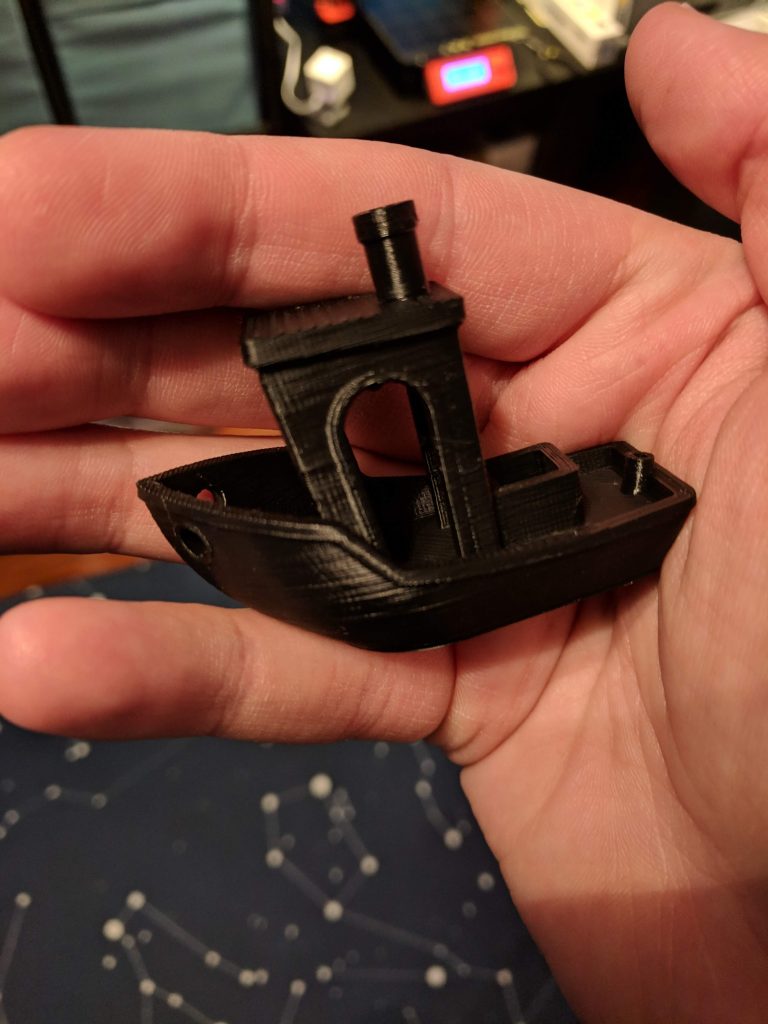
I started with the Benchy boat model since that practically seems a requirement. My first print was going extremely well until about 80% through when it suddenly popped off the bed with a loud snap. After wondering what went wrong, I noticed the temperature on the heatbed was slightly under what I had been reading online – instead of the 60C I had seen online, the default for the print was 55C. When you start a print, you can open the menu on the Prusa and tune the bed temperature; I did that for the next attempt and the result was perfect.
Benchy #1
Benchy #2
(On a side note – the default preheat setting for PLA has the bed at 60C. I still haven’t figured out how to make the print use 60C instead of 55C when I print straight from the SD card.)
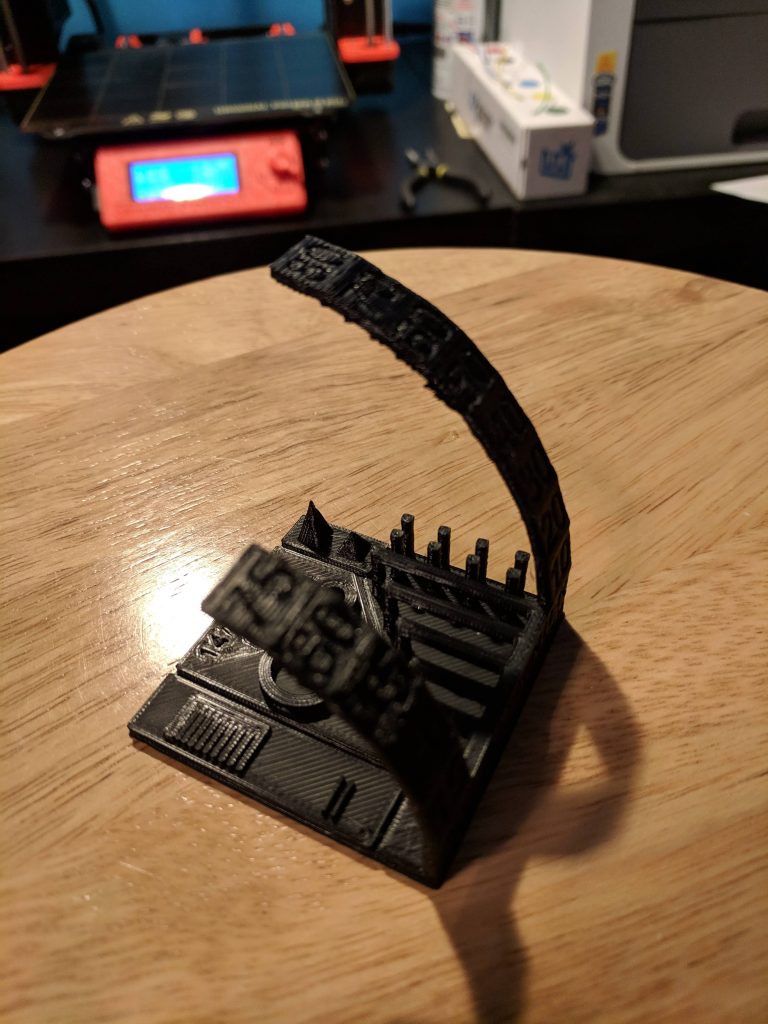
After finishing Benchy, I wanted to print another benchmark, so I used an All-In-One Printer Test I found on Thingiverse to see what the printer could do. Everything came out perfectly, and I was pretty impressed at how well overhangs and bridges can be made by the printer. Benchmarks tend to teach you a lot about how the printer works and what it’s capable of; I highly recommend anyone who gets a new printer try a few.
Thingiverse
A short aside about Thingiverse: it’s great. Before my printer arrived, I started looking through things there are found a lot I’m interested in. A few of my favorites:
There’s a lot there to give you ideas and save you time.
Fusion 360
I’ve been planning things to print for a while now, but I wasn’t sure of what tool to use. I was trying to find something free, so I started by downloading FreeCAD, but it didn’t seem especially usable. Once I found out that Fusion 360 (from Autodesk) has a free hobbyist license, I downloaded it right away to start tinkering.
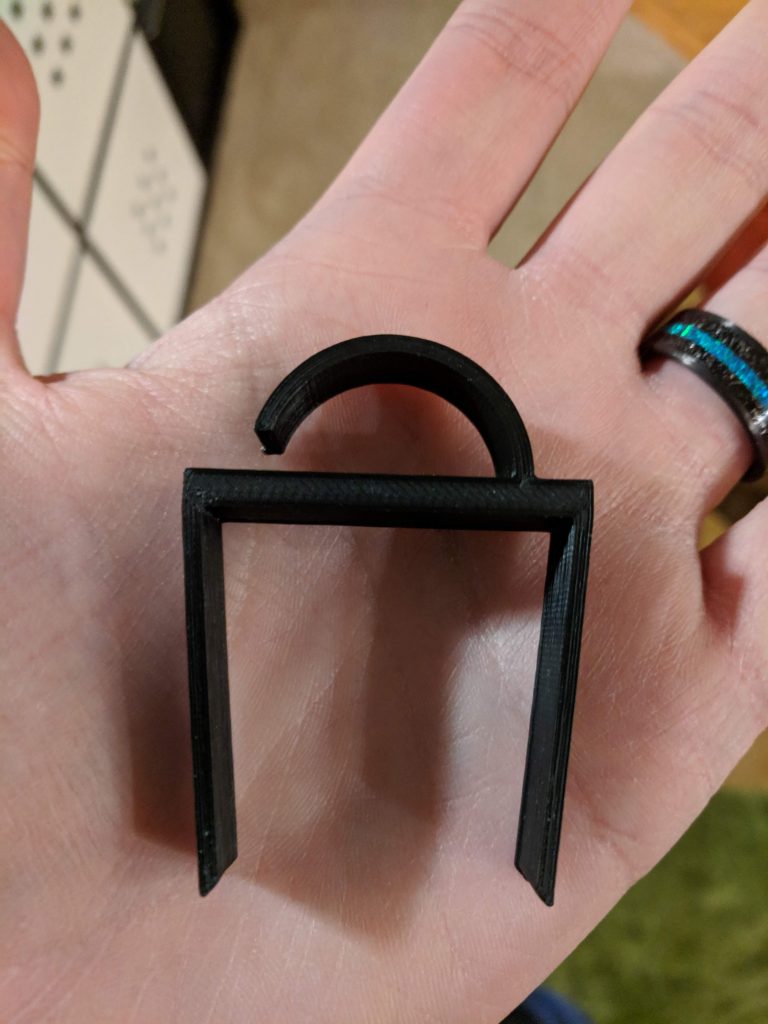
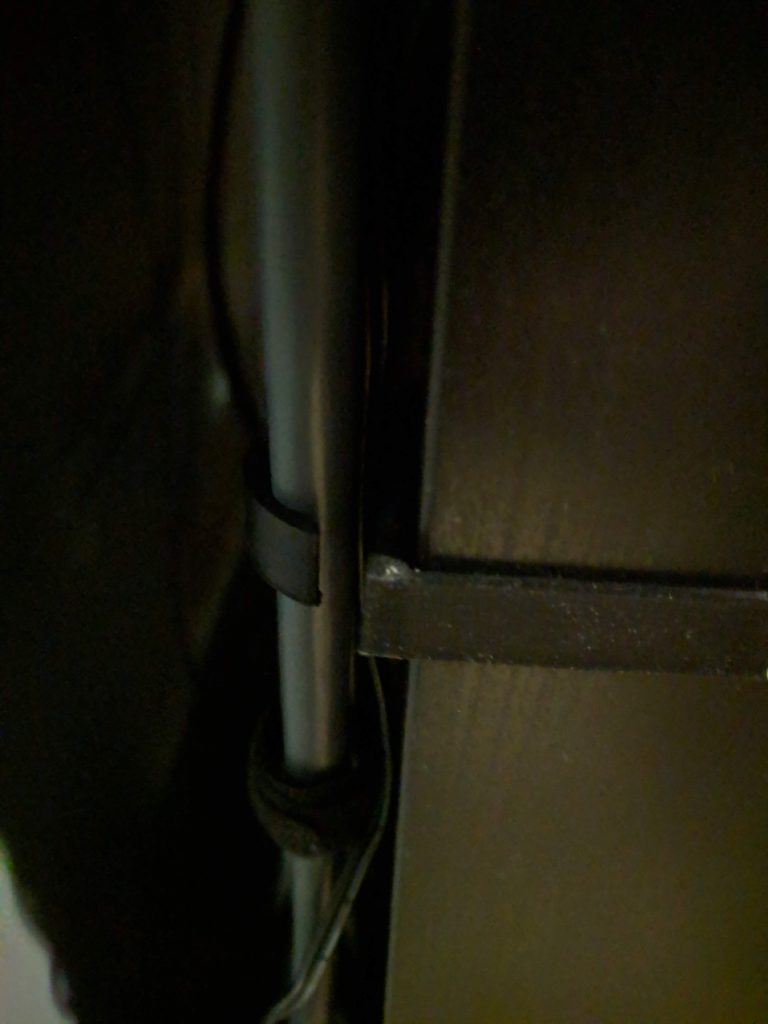
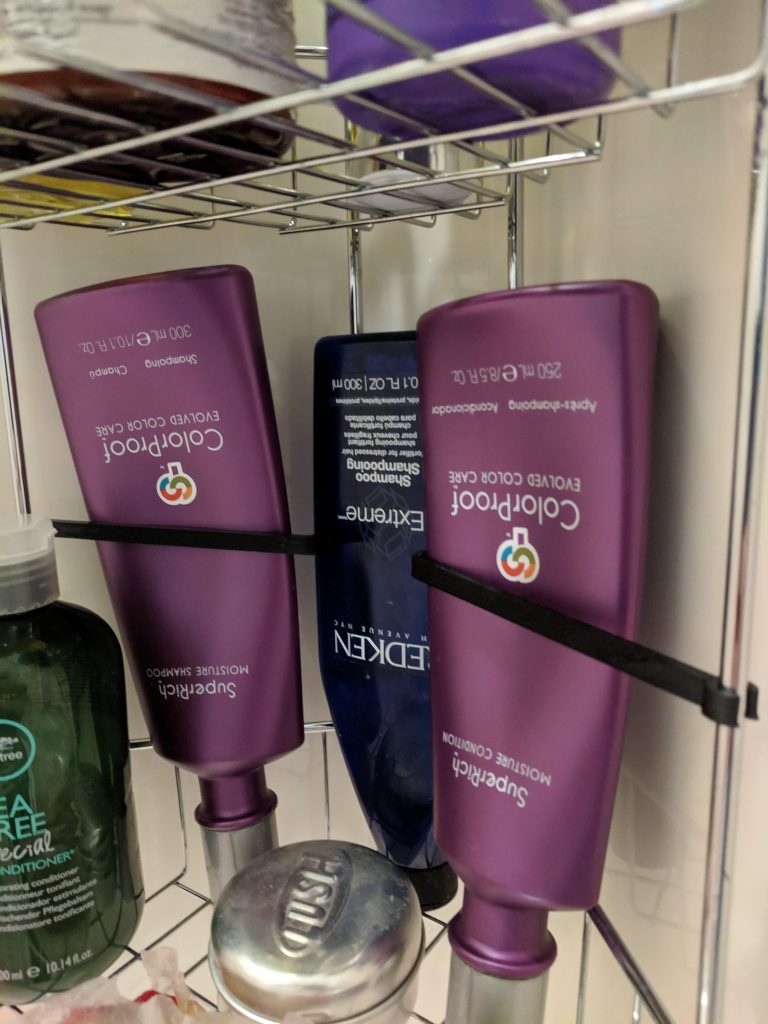
It took me a while to learn the basics, but I think I’m a solid novice now. After struggling to learn the controls and how to use some of the tools, I’ve been able to design several things for around the house. So far, I’ve designed two little baskets (which I have yet to print since they’re 11+ hour prints), a cable clip designed to fit Ikea’s KALLAX shelves, and a little arm to hold bottles in the shower upright when they’re turned upside-down. So far, the KALLAX clips have been my favorite. A solid little clip that blends in with my black shelves perfectly, and can hold a lot of cables securely.
My custom-designed KALLAX Cable Clip
Bottle holder arms for the bathroom
Tools
As I started working on things, I realized there are several tools you’ll likely want if you’re designing things to fit specific spaces. Since I’ve been building little things for around the house, I needed some precision in my measurements.
Digital Calipers – Super handy. If you’re measuring something like the height of a shelf, or the diameter of a rod you want to clip something around, these are the tool to have.
Laser Measure – Handy for larger spaces where you need dimensions. I’ve used it to measure large board game boxes and spaces I want to fit something in.
Needle-nose Pliers – A good tool to have in general, but these come in handy if you’re working with supports (I haven’t yet) and need to detach them. A decent little pair is provided with the Prusa kit, though I’ll probably buy a nicer pair sometime soon just for working with prints.
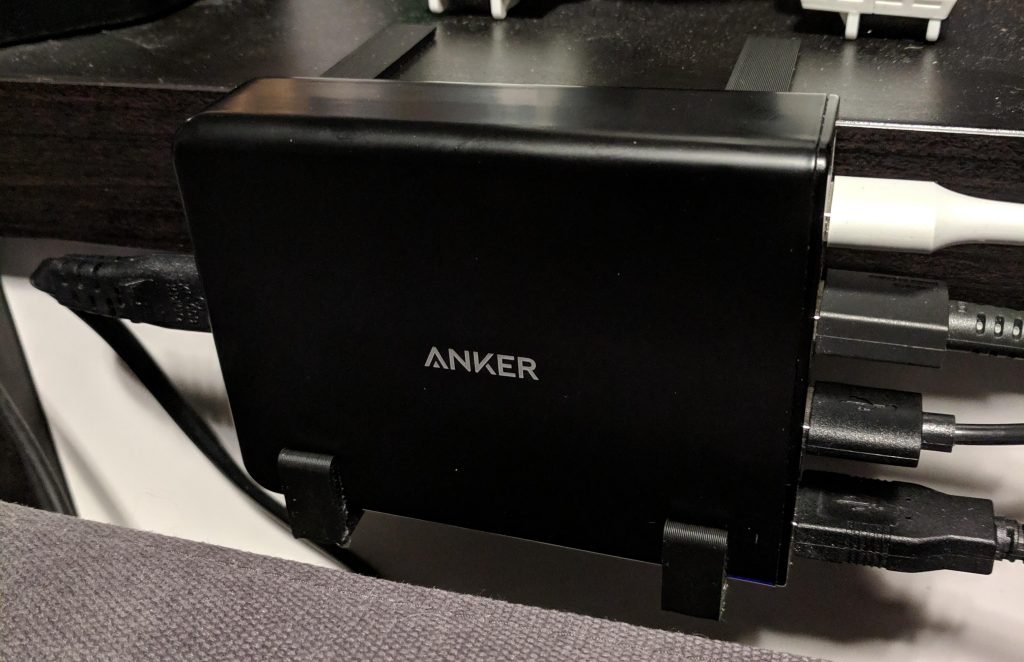
Custom clips designed to hold my Anker USB charger behind the couch.
Filament
I had read a lot about filaments but decided to go with Amazon’s filament, which is cheap and comes in a variety of colors. I’ve only used the black so far, but I’ve had no problems with it. I’m definitely not an expert, but it seems like a fine filament for most uses.
I bought a 3-pack of Amazon’s black filament (which I can’t find on their site anymore), which brought the price per spool to $13.19, which is a fantastic price. Their other colors are about $17-$18 per spool, which is a great price compared to most other filaments. I’ve already spent about $200 in filament to get a variety of colors, but the cost would have been much higher buying other filaments.
I’ve also bought a spool of glow-in-the-dark and rainbow filaments to try out. It turns out there are a lot of options with filaments: matte, glossy, rainbow, glow-in-the-dark, color-changing, metal or wood colored, and even actual metal or wood (there’s shavings or something in the filament; but I’ve heard these can clog nozzles pretty easily).
Monitoring and Remote Control
With some long prints, I want to be able to monitor and control things remotely so I can kick something off before I head to work and keep an eye on it throughout the day. It turns out there’s an OS for the Raspberry Pi called OctoPi designed to do just that. I bought a Raspberry Pi 3 B+ kit on Amazon and installed OctoPi on it, and it’s hooked up to my printer and I’ve been able to control it through OctoPi’s web interface. My router is giving me some problems right now, however, so I haven’t been able to access it from outside my LAN.
I also bought a cheap internet-connected camera from Amazon: the Wyze Cam. It’s a decent little camera. However, after I bought it, I learned that OctoPi can control webcams and make time-lapses automatically, so I’ll likely be buying another camera just for that purpose, assuming I can’t find one of my ancient webcams around here.