For the past year or two, I’ve been wanting to move away from using Amazon or Google to control my smart home devices. There have been a few really unsettling instances with Google (my wife and I talking about something and then ads in search results about that something and I’ve never searched for it), and Amazon is just so hit-or-miss that it’s annoying (I thought these things were supposed to get better over time). I tried openHAB for a while, but I found it difficult to get things set up properly. I recently decided to switch over to Home Assistant, since I was excited about 2023 being their “Year of the Voice” as it finally meant an alternative to Amazon and Google.
I’ll start off by saying that Home Assistant is great, but definitely not as easy to use as Alexa or Google Assistant. However, once things are set up, it’s pretty easy to use.
Getting Started
I had openHAB running on a Raspberry Pi 4 and started out by formatting my SD card and installing Home Assistant. I had a lot of trouble getting it connected to my network; the documentation wants a hard-wired connection for initial setup. I tried all the usual headless WiFi setup steps, but none were working for Home Assistant. I finally acquiesced and connected with a wire long enough to get the wireless connection configured.
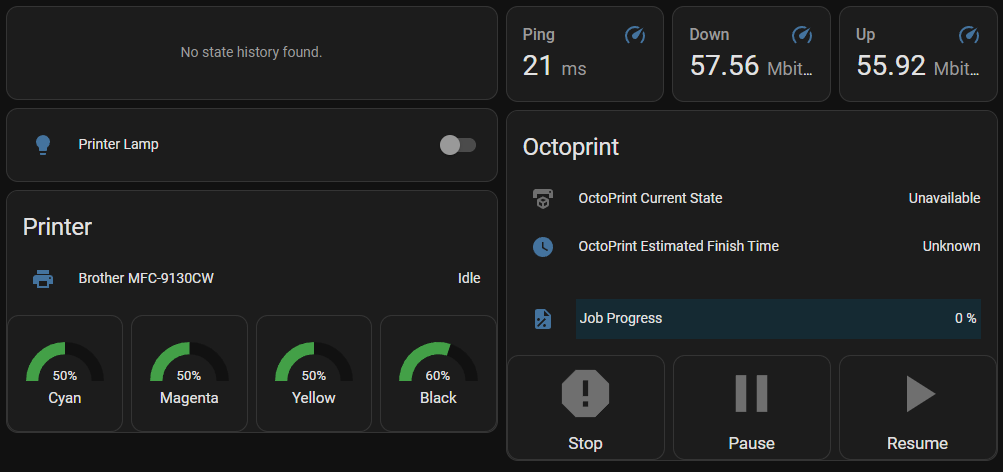
After that, things went really smoothly. Home Assistant automatically discovered my Hue hub, Harmony hub, several TVs (an LG TV and a Samsung smart monitor), my Bond bridge, my Google Nest devices, my Brother printer, and even Octoprint. Getting these connected to Home Assistant was a breeze (though Nest devices require some setup in Google Cloud).
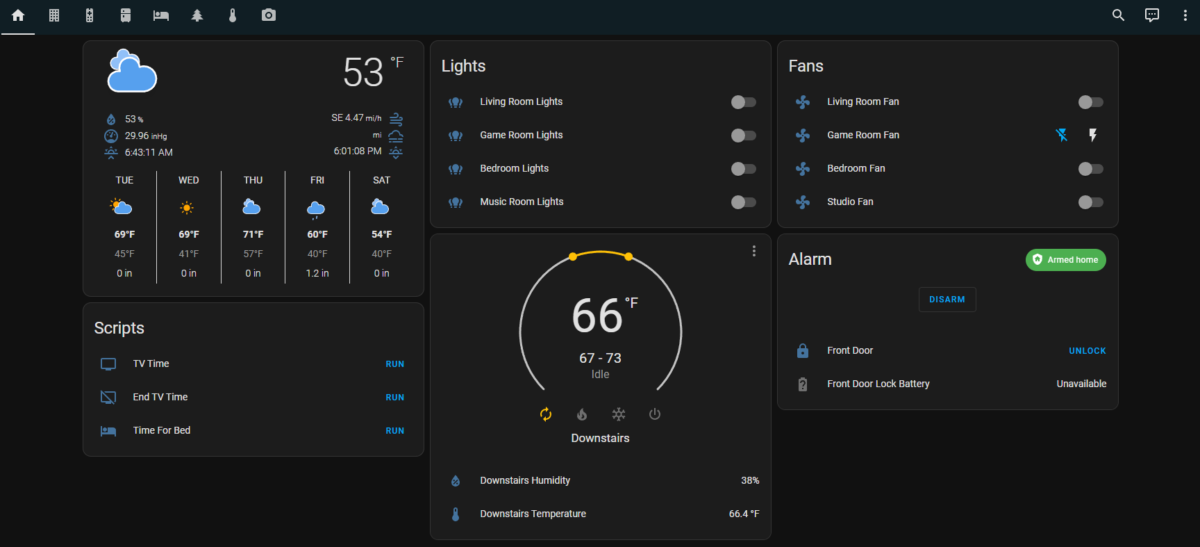
Home Assistant uses customizable dashboards that you can set up to control things, and I quickly set up several dashboards for different purposes/rooms. This was a breeze and a lot of fun to tinker with.
Setting up Wyze
I have a lot of Wyze devices (cameras, bulbs, etc.), and while Wyze integrates with Alexa and Google Assistant, it doesn’t really cooperate with anything else. After some searching, I found a community-developed Wyze integration, which required some additional setup.
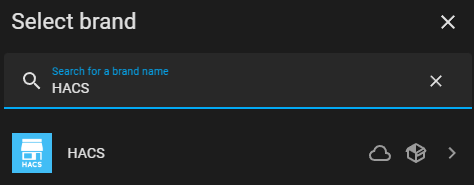
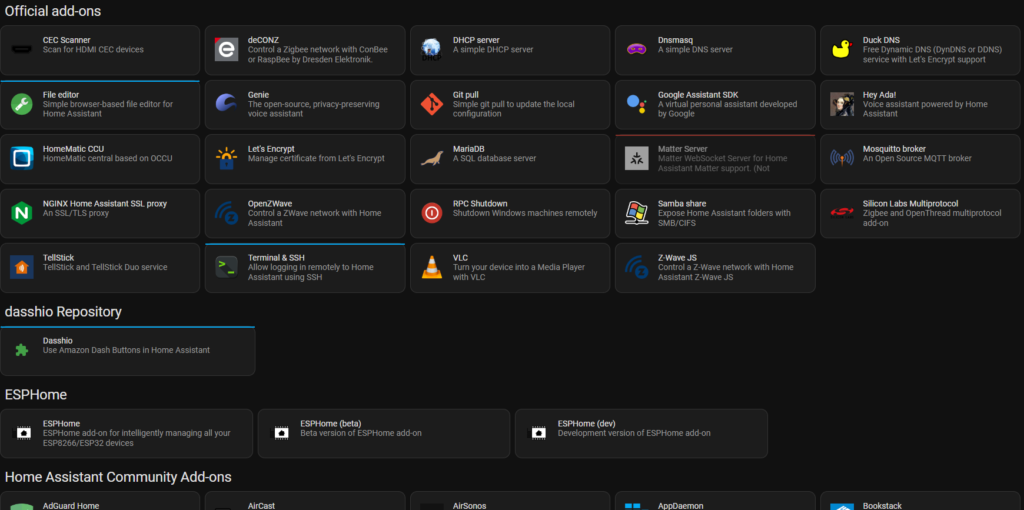
I had to install HACS, the Home Assistant Community Store, which allows you to pull community repositories into Home Assistant. Installing HACS took a few steps, but it’s gotten easier in the past few months: you can install it directly via Home Assistant’s “Integrations”; a few clicks and you’re done.
Once HACS is installed, it’s pretty easy to add a new community integration using a GitHub repository URL. And as soon as I had the Wyze integration added, most of my Wyze devices were found and I could start controlling them.
Not every Wyze device is fully supported. The community integration uses the same API that the Wyze app uses (which means support could be pulled at any time, since it’s not really meant for community use), so it’s limited to what the app can do. Camera feeds were previously supported, but that functionality was removed because it was hammering the Wyze API for camera stills. So after adding the integration, I had access to:
– Bulbs
– Plugs
– Home Monitoring (arming and disarming only)
– Cameras (floodlights, motion detection, power, and siren; no feeds)
Honestly, all I really needed was control over the bulbs and plugs, so I was satisfied with what I got.
Setting up Google Nest
Getting Home Assistant connected to Google Nest was more involved. You basically have to become a “Nest Developer” and set up a Google Cloud project to integrate with Nest devices. There’s a one-time $5 fee to set up the integration, but the setup process itself wasn’t too difficult.
The documentation details the process pretty well. After finishing that setup, I had access to my cameras and thermostat.
Next steps
So now that I had all my devices set up in Home Assistant, it was time to start grouping things together and setting up some scripted actions. Most of this was pretty easy as well.
Grouping Entities
Home Assistant makes a distinction between “devices” and the “entities” associated with those devices. For instance, a Wyze camera is a single device, but will have separate entities for a floodlight, camera feed, power, siren, etc. Controls in dashboards, automations, and scripts all typically refer to an entity.

Creating groups of entities was a bit obtuse. Home Assistant has “helpers” which cover a wide range of things like virtual buttons, counters, timers, schedules, etc. Groups fall under “helpers”, so you go there, create a new “Group” helper, select the type of group (there are groups for sensors, fans, lights, locks, media players, etc.), then add your entities to the group. I needed light groups for a few rooms, so I just set up a few light groups.
Once the groups are created, they show up as entities you can control elsewhere. However, I’ve noticed groups can’t typically be controlled from automations or scripts, which means I have to control the individual devices there, which is a bit annoying when I want to be able to control them as a group.
Scripts

We have a handful of routines we use in Google. I set these up as scripts that perform the same actions the routines did. This step was also really easy: just give the script a name, an icon, and a list of actions.
Dash Buttons
I’ve had a bunch of Amazon Dash Buttons lying around for a while with the intention of repurposing them for something smart home related. As it turns out, there’s a community project to set up Dash buttons within Home Assistant to trigger certain actions.
Unfortunately, the Dash buttons don’t get set up as buttons within Home Assistant. The Dasshio plugin just sniffs packets on the network and triggers something when it detects a packet from a specified button. Like the other parts of setup, this was all relatively easy. You just need to put the button in pairing mode, connect to its wireless network, acquire its MAC address, and send it your network SSID and password. Within the Dasshio configuration, you just have to give the button a name and provide the MAC, then specify what happens when you press the button. Most of my buttons just trigger the scripts I had already set up.
I wish I could figure out how to get the labels off these things, though. I may end up 3D printing a little case for them so I can give them a custom label. For now, I’ve just been choosing the most appropriate button for the task, like the “Finish” button for turning off the living room TV and turning off the lights, or the “Cheez-It” button when it’s time for bed. (I’ve also got a “Bounce” button that I might set up for leaving the house.)
I know these buttons won’t last forever, but right now, they’re a cheap and effective smart home control.
Initial Experiences
After using Home Assistant (almost exclusively) for a few months now, I can’t believe how great it is. When I perform actions, either with my Dash buttons or through the app, devices respond almost instantly because everything happens locally within my own network. This is how smart home stuff should have worked from the start, rather than everything being in the cloud.
My wife and I both started using the Home Assistant app on our phones, which opens quickly and responds instantly to commands. The app connects to your local Home Assistant server, so it’s all still on the local network. The Dash buttons made things easier, giving us a dedicated physical button for the things we do most often. You can also set up cloud access for a monthly fee ($6.50), but I haven’t had need for that quite yet.
I’ve only scratched the surface, though. There are media controls so you can play a variety of media sources to any of your media devices. There’s an “Energy” section that can track your energy usage (including power usage, solar production, battery storage, gas consumption, and water consumption)if you have the right hardware. There are addons to run a DHCP server, media server, VPN, FTP server, and more. Home Assistant is very flexible and powerful. And this is all running from a tiny Raspberry Pi in my office.
Looking Ahead
Working with Home Assistant has actually made me excited about Matter, especially since Wyze plans on supporting it and it seems like it’ll make Home Assistant work even better. Home Assistant already has Matter support, so as more devices arrive that support the protocol, I’ll be able to add them and start using them right away. (Though there’s still no support for cameras in Matter, so I’ll be waiting a while to get everything added.)
Home Assistant added a chat-based natural language assistant in January, the first step toward adding full voice support. I’ve used it a handful of times, just to try it out, and it works pretty well. Right now it requires specific device or entity names, but you can always add aliases if needed. I’m excited to see how the voice support shapes up. If it supports creating timers and performing simple web searches, it would completely replace Amazon and Google in my home. (We use timers heavily.) I’ve read that you can repurpose Nest Hub and Amazon Show devices to display a Home Assistant dashboard, so once voice control is added (and if it supports all I need), I’ll likely give that a try. I also have an old Amazon Fire tablet I may repurpose into a hub somewhere.
I enjoy tinkering with stuff like this, so Home Assistant has been a lot of fun to work with. There’s definitely a learning curve, but it’s very rewarding when things start working how you like. The dashboards are great, offering a lot of customization. And I can’t overstate just how much faster everything works. No more standing around waiting or checking back to make sure things actually worked. It’s great.