My second week in 3D printing has had more failures than the first week, but I’ve learned a few things that should help me avoid future failures. (Hopefully.)
I’m still avoiding anything with supports, but some of the things I’ve managed to print without supports still amaze me. I’ll take a look at a model and think, “Nope, that’s not going to work because this bit is out in space”, then I decide to attempt the print anyway and it comes out fine. There’s definitely an art to designing things that don’t require supports, but small overhangs tend to work out pretty well.
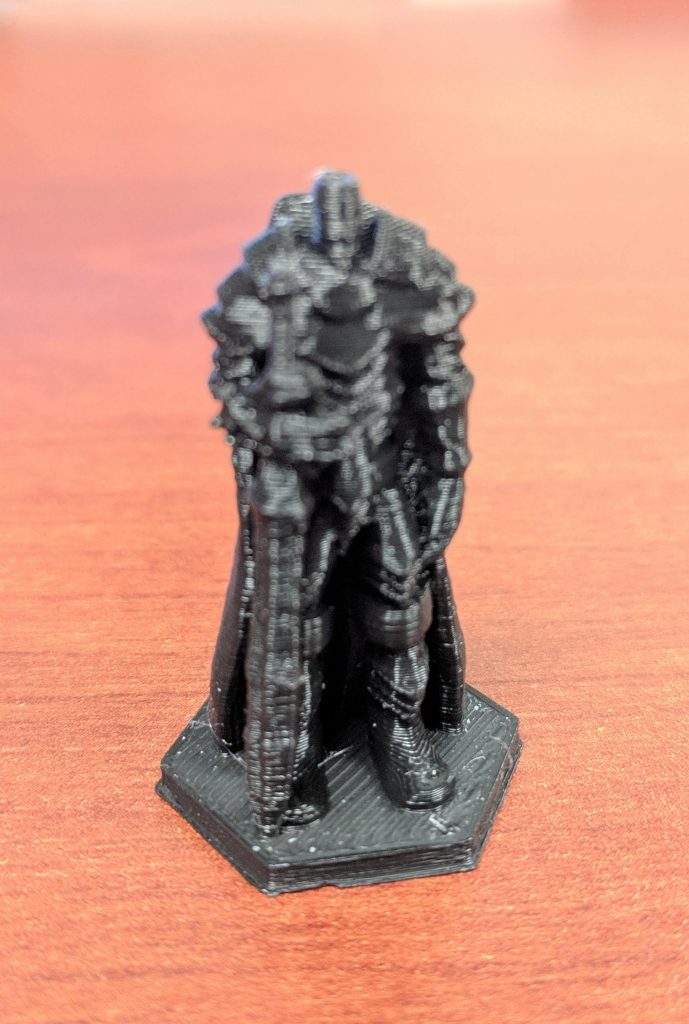
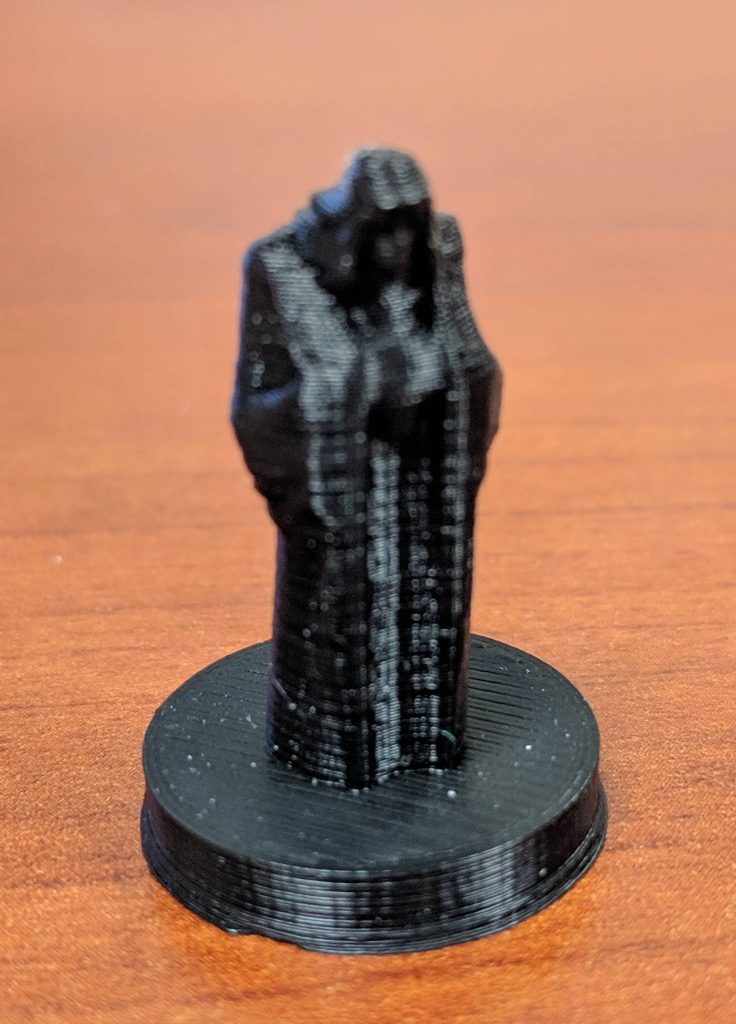
Berserker 
“Evil Wizard”
However, even though some things work out great, some things just don’t, even if they look OK. I tried printing a dwarven warrior, but every time it failed with a big, tangled ball of filament. I’m still not sure why it failed where others worked fine.
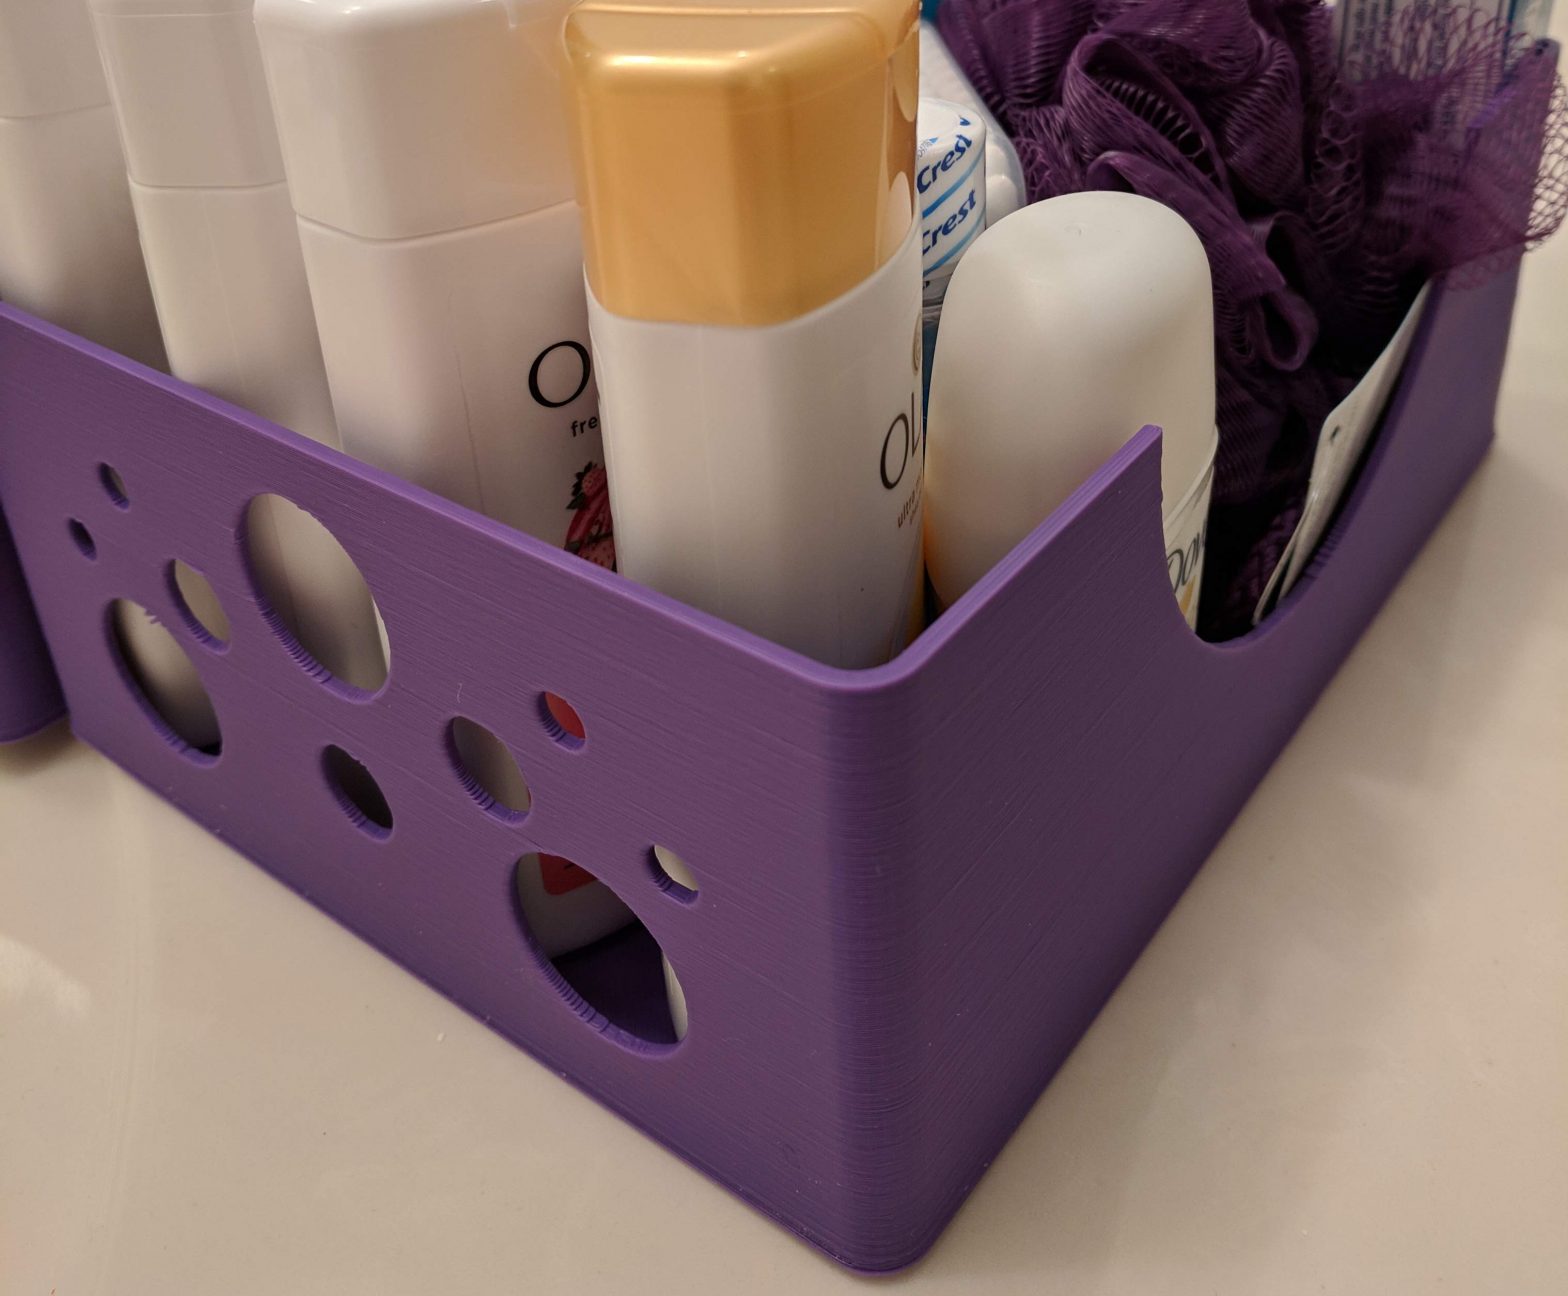
One thing I promised my wife when I got the printer was that I’d print a few baskets for our guest bathroom. My initial designs were pretty simple – flat bottom, a few circles in the sides (like bubbles), and a half-circle scooped out of the side. The first print was going pretty well as it printed the bottom, but about a quarter of the way across, it started to kink up. I tried lowering the bed temperature to let it cool faster, but I ran into the same problem (though a bit later). In theory, I could have lowered the bed temperature to a point where it would have printed fine, but then bed adhesion could have become a problem.
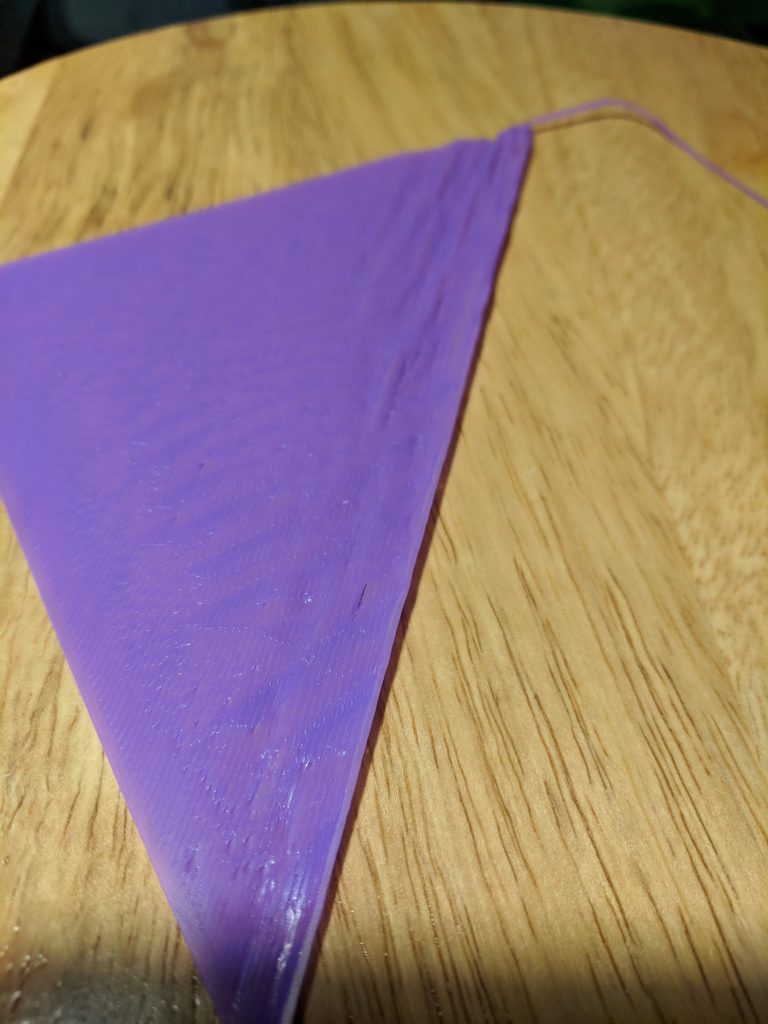
Basket Failure #1 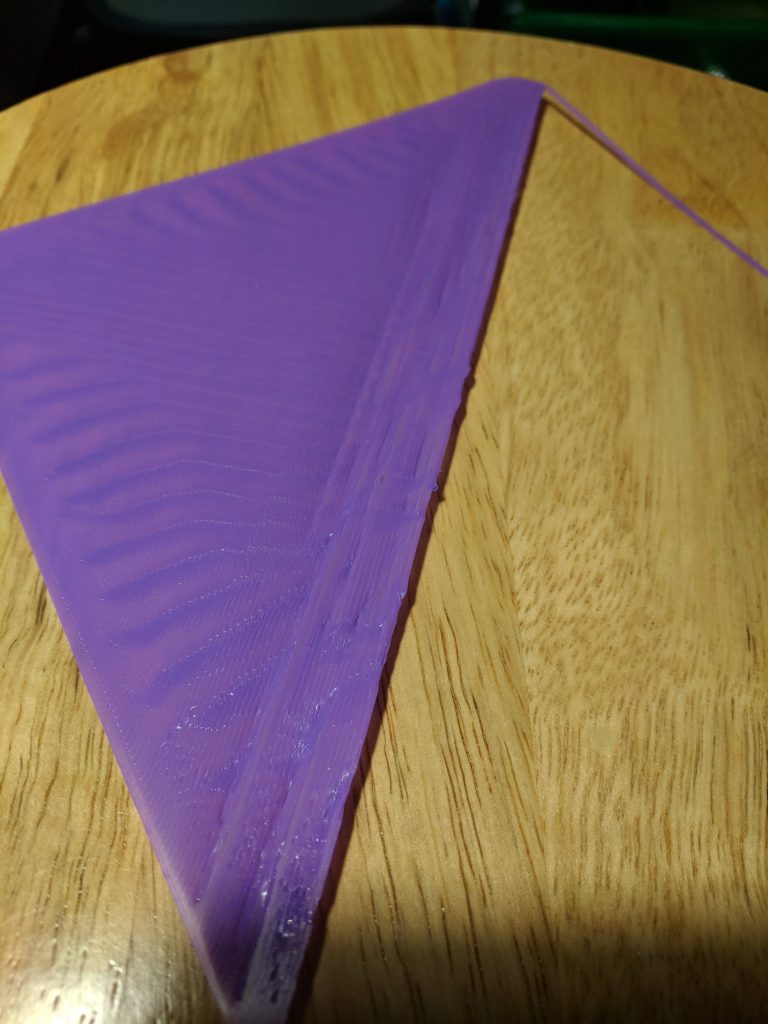
Basket Failure #2
Instead, I tried adding some large hexagons in the bottom to create some air pockets and reduce the amount of large, flat areas to be covered directly on the bed. Unfortunately, I ran into the same problem with some of the flat areas between the hexagons.
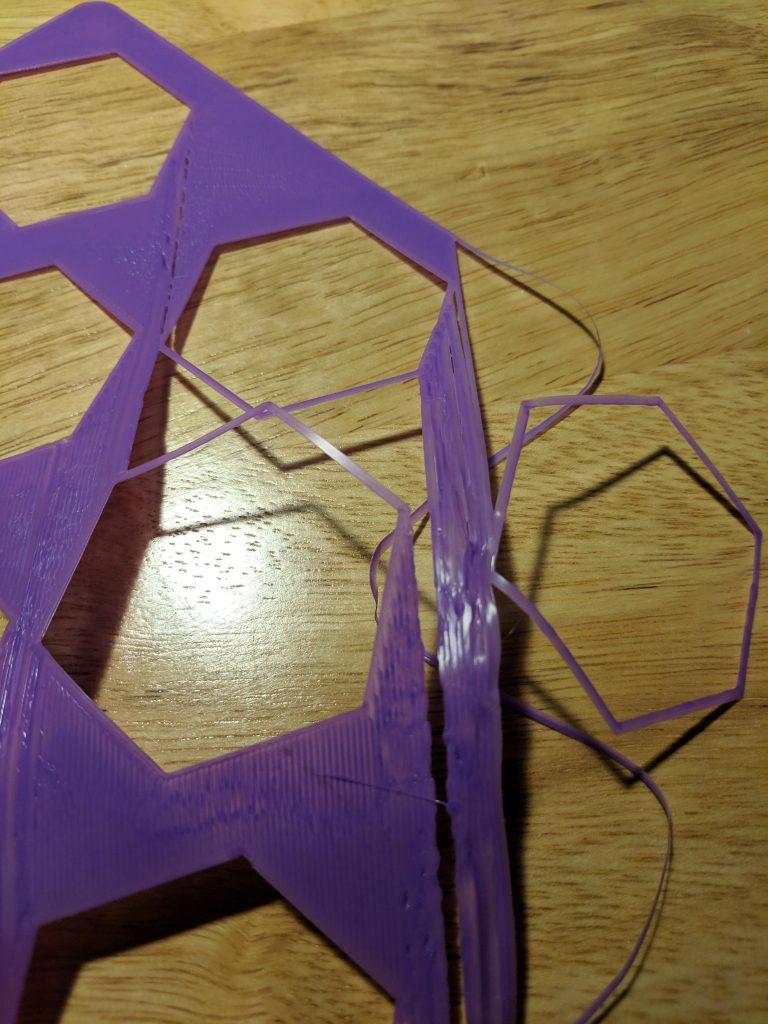
I went back and created a cross-hatch pattern on the bottom with small squares. About seven hours later, I had a completed basket; the new bottom printed without any issues. Lesson learned: large, flat areas directly on the bed tend to be problematic.
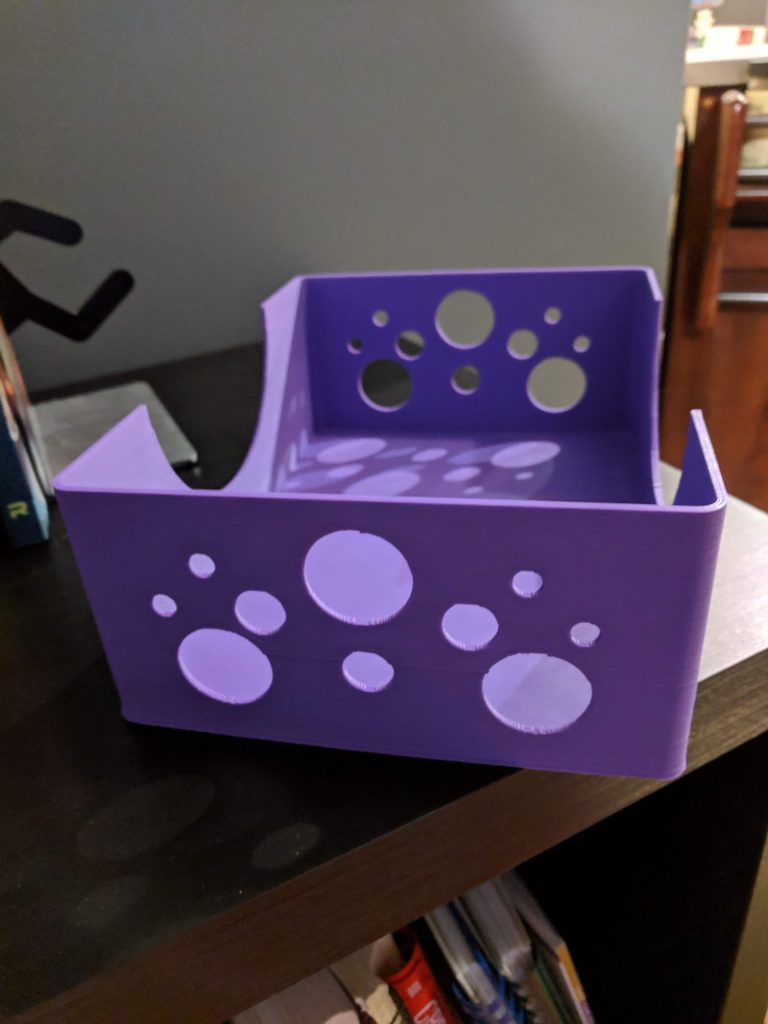
Finished Basket 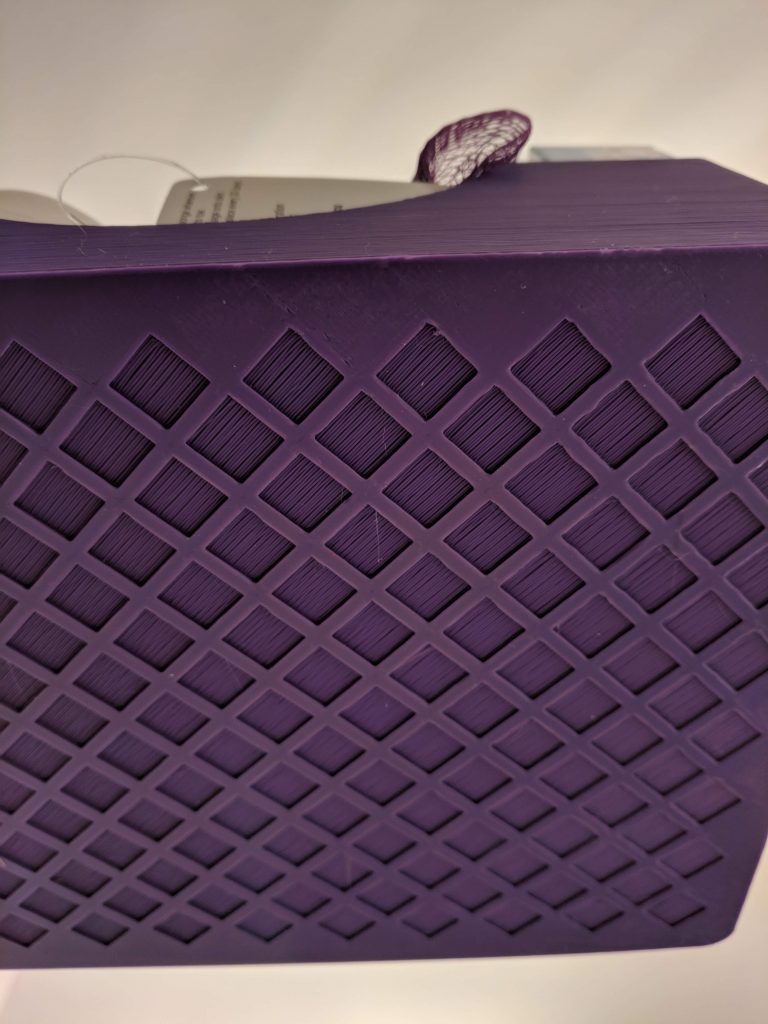
Basket Bottom
My theory here is that as the filament crystallizes, it shrinks just a bit. Over short areas it’s not an issue, but with larger areas it causes a chain reaction. When bridging over gaps, it’s not an issue because the filament gets anchored on either side to filament that’s already hardened and won’t move much.
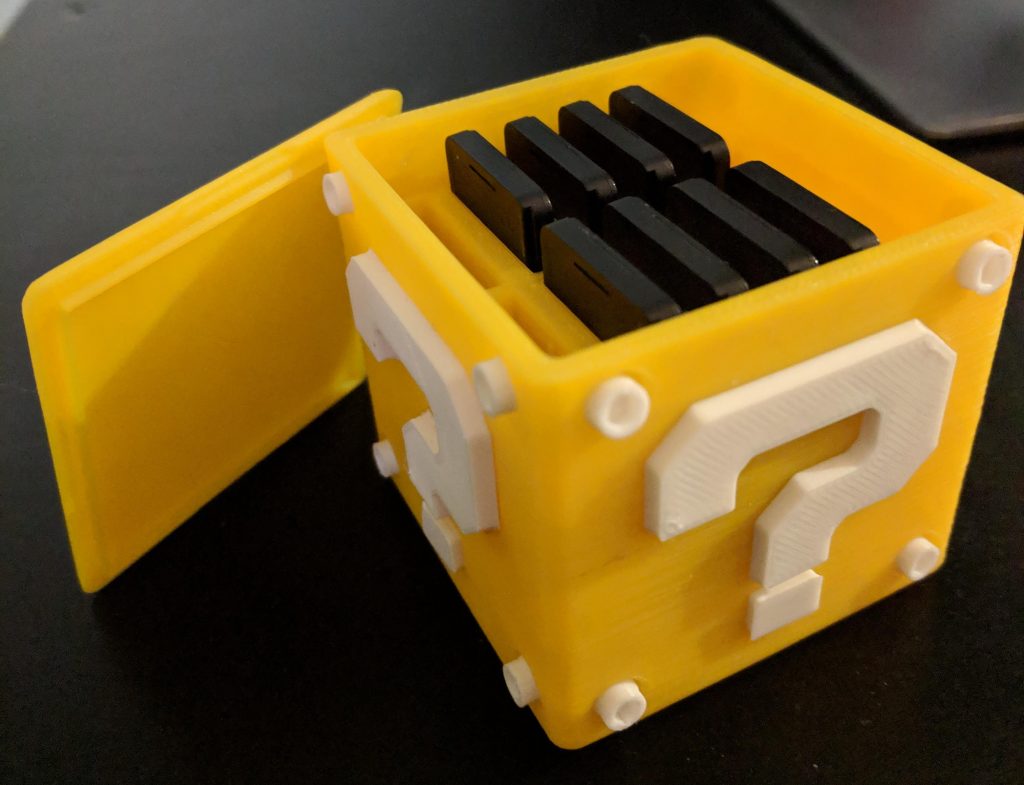
While those baskets were my largest project thus far, I also completed a project that required assembly: a storage case for my Nintendo Switch games. It turned out great. The body of the cube took maybe 5 hours to print, but the other parts were finished pretty quickly.